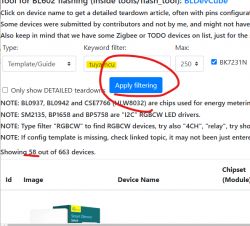
So bought these door sensors
https://vi.aliexpress.com/item/1005007537059674.html
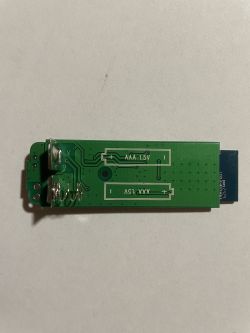
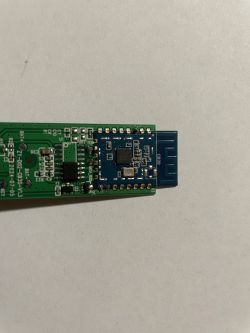
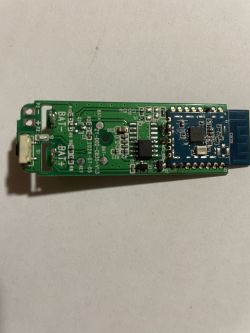
Upon first inspection, they appear to be using BK7231N and an unmarked 8pin MCU (or some other chip, TuyaMCU maybe?).
Now flashing openbeken was no trouble, but now I'm stuck because the device does not appear to get any power to the BK7231N. It appears that the unmarked MCU might be turning on/off the BK7231N chip.
Any such devices out there and how to get this working?
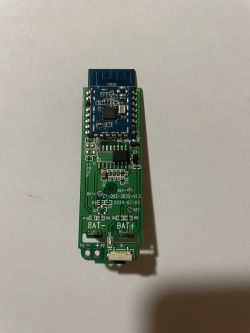
Added after 2 [hours] 47 [minutes]:
Ok so i've made some progress;
Device is pretty much identical to this one
https://www.elektroda.com/rtvforum/topic4028222.html
Except TuyaMCU channels are different, so the supplied config doesn't work
I've corrected this and it works now. Channel 103 mightbe the battery state.
One thing it does bother me; the output is inverted for the home assistant use. Any chance tuya channels can be inverted, so no workaround is needed for HA ?
https://vi.aliexpress.com/item/1005007537059674.html
Upon first inspection, they appear to be using BK7231N and an unmarked 8pin MCU (or some other chip, TuyaMCU maybe?).
Now flashing openbeken was no trouble, but now I'm stuck because the device does not appear to get any power to the BK7231N. It appears that the unmarked MCU might be turning on/off the BK7231N chip.
Any such devices out there and how to get this working?


Added after 2 [hours] 47 [minutes]:
Ok so i've made some progress;
Device is pretty much identical to this one
https://www.elektroda.com/rtvforum/topic4028222.html
Except TuyaMCU channels are different, so the supplied config doesn't work
I've corrected this and it works now. Channel 103 mightbe the battery state.
// Start TuyaMCu driver
startDriver TuyaMCU
startDriver tmSensor
tuyaMcu_defWiFiState 4

//Door

setChannelType 1 OpenClosed
linkTuyaMCUOutputToChannel 101 val 1

//Battery ?
setChannelType 2 ReadyOnly
linkTuyaMCUOutputToChannel 102 val 2
One thing it does bother me; the output is inverted for the home assistant use. Any chance tuya channels can be inverted, so no workaround is needed for HA ?


