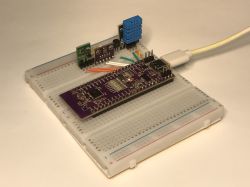
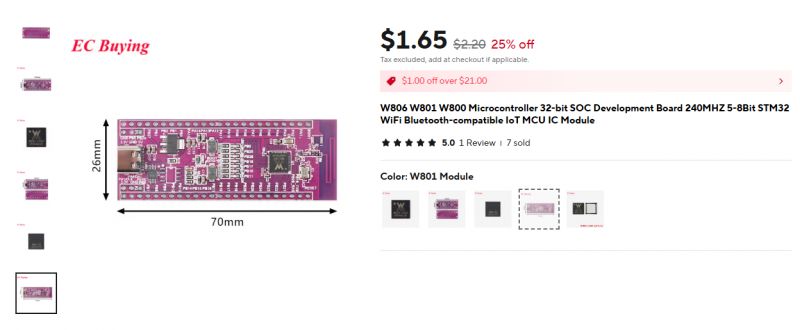
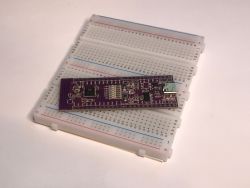
The HLK-W801-KIT-V1.1 is a development board powered by the 32-bit, 240MHz WinnerMicro W801-C400 SoC. It includes 2MB of on-board Flash and 288KB of RAM, making it ideal for various IoT applications. The board can easily integrate with Home Assistant using the provided firmware.
In this guide, I’ll introduce two tools for flashing firmware onto these boards and demonstrate how to use W800/W801 with various sensors supported by my project. This process is also applicable for flashing IoT devices with W800/W801 chips, but if you’re interested in the development board, it’s available for as little as $2:
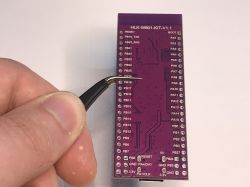
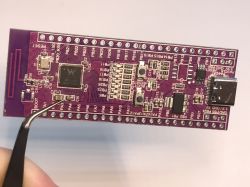

Understanding HLK-W801-KIT-V1.1 board
Let's consider HLK-W801-KIT-V1 board schematic:

HLK-W801-KIT-V1.1 features CH340N USB to UART controller which is used for both UART communication and board resetting - communication is done through UART 1 port, PB19 TXD and PB20 RXD, and reset is done via CH340N RTS pin, which can be easily controlled from many applications, for example from Realterm:
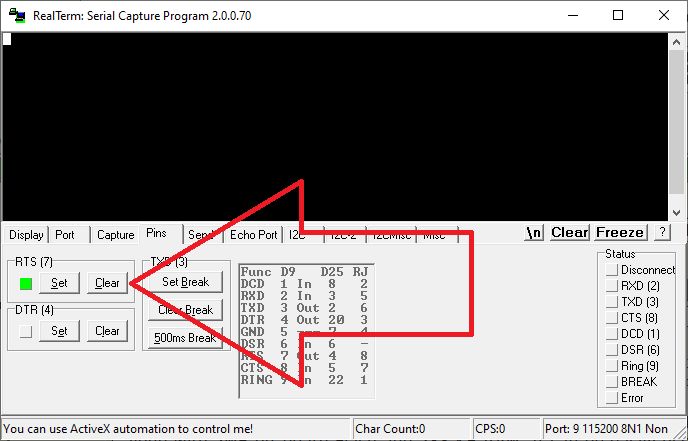
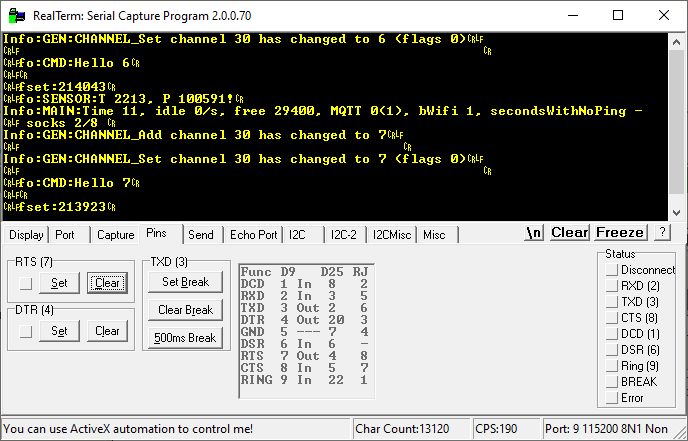
This can be used to reset board for flashing without having to physically press the button, but it can be also misleading, because your firmware will not boot as long RST is set. It has to be cleared for firmware to boot:
Flashing setup
WX00 family (W800, W801, W600, W601) requires only power and UART signals to flash. No boot signal needed. So if you are doing a DIY version, you only need to solder RX, TX and GND and 3.3V. Then once you start the flashing tool of your choice, you need to either do power off/on cycle or use fifth signal - RESET - to force reboot.
Flashing with wm_tool.exe
First tool, the command line-only utility, was already presented here.
Uploading firmware via wm_tool.exe is very simple, you just need to specify the COM port, source file, and reset while needed:
wm_tool.exe -c COM9 -dl W:\GIT\wm_sdk_w800\bin\w800\w800.fls
So we execute this command and get:

Now you have to reboot the device - either via the RESET button or RTS UART signal on HLK-W801-KIT-V1.1.
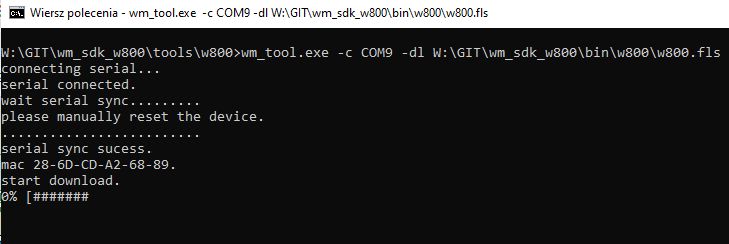
There is no need to worry about the 0% progress visible for the entire programming time, the program just does not refresh this counter.
Once flashed, do reset again so firmware can start.
Get wm_tool here: https://github.com/openshwprojects/FlashTools/tree/main/WinnerMicro
Flashing with UpgradeTools
Second method is the GUI approach. The tool is in Chinese by default, but it can be changed to English:
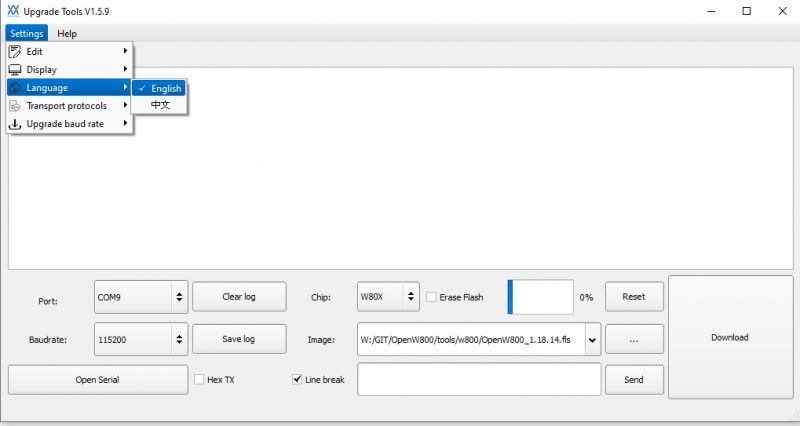
Then you need to select the source firmware file (FLS file), target UART port, chip type (W80X or W60X), and click "Open Serial Port". Then press "Download". This is how it looks like during flashing:

Once it flashes, you should see your firmware UART output in the same log window as the flashing log:
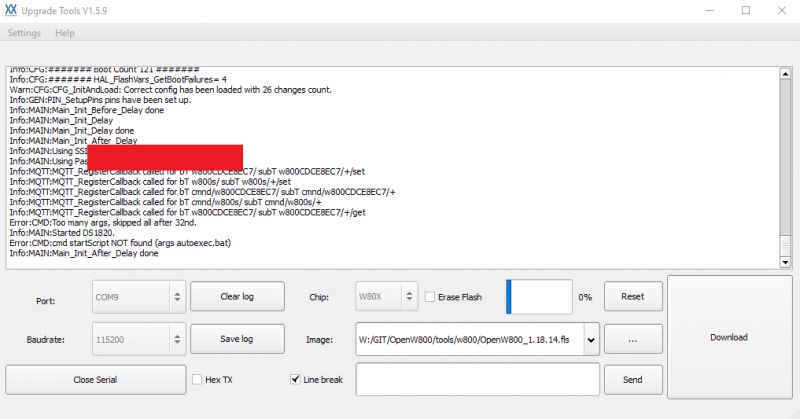
You can use "RESET" button to reboot your board remotely, but flashing procedure should do this automatically.
Get UpgradeTools here: https://github.com/openshwprojects/FlashTools/tree/main/WinnerMicro
W800 SDK setup
If you want to program W800 manually, you can use
wm_sdk_w800 tutorial. Keep in mind that W800 firmware is the same as W801, but in order to run it on W600/W601, you need to use w600 SDK.
W800 with OpenW800/OpenBeken
You can also flash W800/W801 with OpenBeken firmware, get FLS file here:
https://github.com/openshwprojects/OpenBK7231T_App
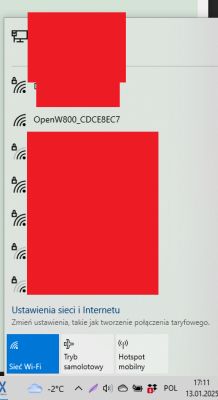
Download it from Releases tab. Once you flash it and reset, the open access point should appear:
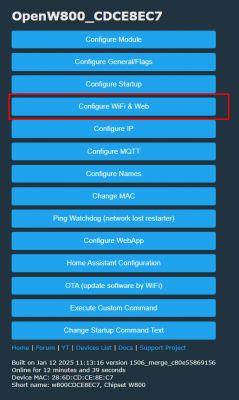
Connect to it and navigate to page 192.168.4.1, then open Config, and Configure WiFi:
OpenW800/OpenBeken Demo
I've prepared a simple OpenBeken demo featuring multiple sensors and drivers on the HLK-W801-KIT-V1.1 board. My setup features:
- DHT11 for temperature and humidity measurements,
- AHT20 for enhanced temperature and humidity readings,
- BMP280 for barometric pressure and temperature,
- DS18B20 for precise one-wire temperature monitoring,
- and last but not least, OpenWeatherMap integration for real-time weather information fetched from the web.
This setup showcases the flexibility of OpenBeken, supporting various sensors simultaneously and allowing seamless integration of OBK scripting engine and Home Assistant Discovery.
The hardware setup is fairly simple, the only thing worth noting is the presence of 4.7k pull up resistor next to DS18B20:
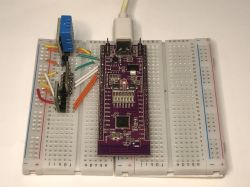
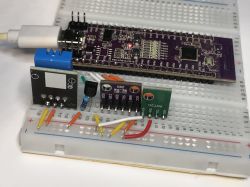
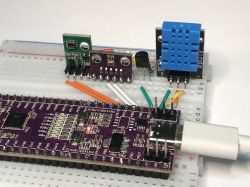
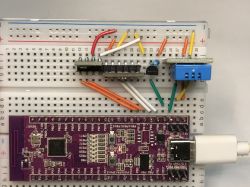
All revelant information is shown on main OBK page:
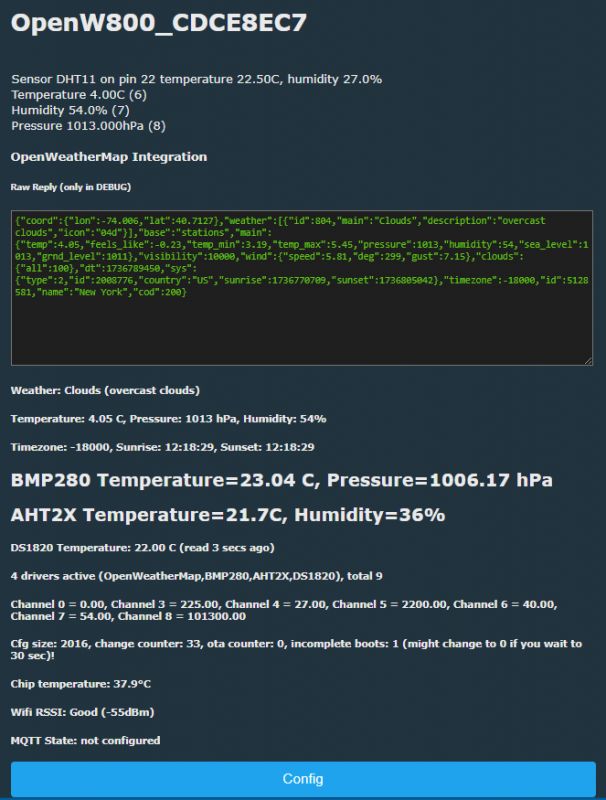
The software is simple as well, but it happens in two different places of the firmware.
First, some pins are configured in Configure Module tab:

This specified which IO pin is used for which role. Futhermore, it specified which channels (like variables) are used to store measurement results.
Then, most of things is scripted in the "Short startup command" script:
waitFor WiFiState 4

startDriver DS1820

startDriver BMP280 PB9 PB8 9 10 11 236

startDriver AHT2X PB12 PB13 11 12

startDriver OpenWeatherMap
owm_setup 40.7128 -74.0060 KEY_CENSORED
setChannelType 6 Temperature_div10
setChannelType 7 Humidity
setChannelType 8 Pressure_div100
owm_channels 6 7 8
owm_request

setChannel 30 0
again:
addChannel 30 1
echo Hello $CH30
delay_s 1
goto again
Let's consider this script line by line. First, we have:
waitFor WiFiState 4
which just waits for OBK WiFi state to become connected. Then:
startDriver DS1820 This line initializes the DS1820 temperature sensor driver (using the pin from Configure Module tab).
startDriver BMP280 PB9 PB8 9 10 11 236 This initializes the BMP280 driver, specifying the I2C pins (PB9 for CLK and PB8 for DAT), along with channels used to store temperature, pressure, and humidity data (if present). The "236" specifies I2C address of the device.
startDriver AHT2X PB12 PB13 11 12 This initializes the AHT2X driver for another sensor, specifying PB12 as CLK and PB13 as DAT. Channels 11 and 12 are used to store temperature and humidity data from this sensor.
startDriver OpenWeatherMap owm_setup 40.7128 -74.0060 KEY_CENSORED Here, the OpenWeatherMap driver is started. The owm_setup command sets the location to New York City (latitude 40.7128, longitude -74.0060) and uses an API key (censored in the script). This allows fetching weather data from OpenWeatherMap, which can be later stored in channels.
 setChannelType 6 Temperature_div10
setChannelType 7 Humidity
setChannelType 8 Pressure_div100
owm_channels 6 7 8
These lines define the types of data stored in specific channels:
- Channel 6 will store temperature data, divided by 10 for scaling.
- Channel 7 will store humidity data.
- Channel 8 will store pressure data, divided by 100 for scaling. The owm_channels command associates these channels with the corresponding OpenWeatherMap data.
owm_request This sends a request to OpenWeatherMap to fetch the current weather data. The data will then populate channels 6, 7, and 8. Keep in mind that you should call this command in a loop or a repeating event periodically if you want to have refreshed data.
Then, a simple loop is made. First, channel 30 is initialized to 0.
setChannel 30 0 This will be used as a counter or a control variable.
again:
addChannel 30 1
echo Hello $CH30
delay_s 1
goto again
This is a simple infinite loop:
- addChannel 30 1 increments the value in Channel 30 by 1.
- echo Hello $CH30 prints "Hello" followed by the current value of Channel 30.
- delay_s 1 introduces a 1-second delay before repeating the loop.
- goto again returns to the start of the loop.
This script demonstrates sensor initialization, data handling, and a basic loop for repetitive tasks. You can later extend it, but keep in mind that short startup command length is limited, so you will need to use autoexec.bat for longer scripts....
Futher OBK reading
Please check out our tutorials on Elektroda Youtube:
https://www.youtube.com/@elektrodacom/playlists
Our Github repository:
https://github.com/openshwprojects/OpenBK7231T_App
Our OBK docs:
https://github.com/openshwprojects/OpenBK7231T_App/blob/main/docs/README.md
Online builds and custom OBK driver guides:
OpenBeken online building system - compiling firmware for all platforms (BK7231, BL602, W800, etc)
How to create a custom driver for OpenBeken with online builds (no toolchain required)
HA pairing guide:
Summary
HLK-W801-KIT-V1.1 features a W801-C400 microcontroller which is compatible with firmware compiled for W800-C400. It can be programmed with wm_sdk_w800 SDK, but you can also use a premade OpenW800 (OpenBeken port) solution, which supports many various sensors and drivers out of the box. It can be also used to pair device with Home Assistant via Home Assistant Discovery, so you can include W800/W801 in your home automation system.
Do you have any experience with Winner Micro chips, and did you find them in any IoT products? Let us know and let's discuss.
Cool? Ranking DIY Helpful post? Buy me a coffee.


