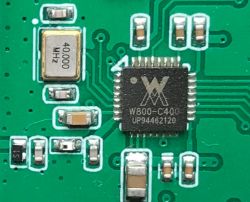
Hello, today I will present how to tame another Chinese WiFi + Bluetooth microcontroller, the W800-C400 produced by WinnerMicro. At the moment, you can buy it for about 3$, while the development board costs about 5$ and both of these prices already include the shipment. Of course, I will not use such a board here, but continuing my tradition I will use an IoT / Tuya device just built on the W800-C400, more specifically the RGB LED strip controller.
The WinnerMicro chips themselves have already been mentioned several times in the "News" section of our forum, you can also check out these topics:
HLK-W801 board with microcontroller based on Alibaba Xuantie XT804 core
Air602 - Module with Wi-Fi on SoC Winner Micro W600
W806 - prototype board with WinnerMicro W806 for PLN 8
NOTE - this topic assumes basic knowledge of C and basically focuses on just starting the W800-C400, without explaining the basics. In addition, I also expect that the user can look for himself in the code or on the Internet, for example, create a thread on this platform and so on ...
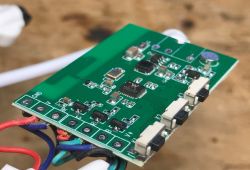
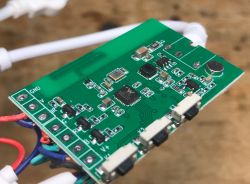
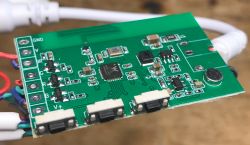
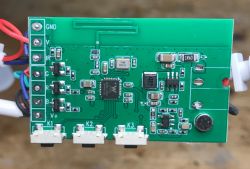
RGB LED strip controller used
For starters, I recommend reading the previous topic in the series:
WiFi / IR LED strip - WX300P - music mode - hidden buttons [W800-C400]
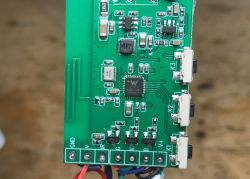
As a reminder, photos of the tile:
What else will you need?
When you buy a dedicated development board, you don't need it (because it is already on dev board), but as I will program it in IoT device, so I will also need an external USB to UART converter. Basically like in ESP and all similar microcontrollers ...

Here are the necessary connections:
- RX converter to TX PCB
- Converter TX to PCB RX
- mass to mass
- 5V power supply from USB to the board's power input (not 3.3V, because it will burn the board. There is a step down converter on the board, I give 5V to its input)
- in addition, on this UART USB converter I give a jumper between VDD and 3.3V to select the logical levels of 3.3V
- [optional] we can also solder the cable to the RESET pad from the board and reset the board by touching it to the ground, it will reboot, but you can also simply reset it by disconnecting the power supply ...
This is what it looks like in practice:
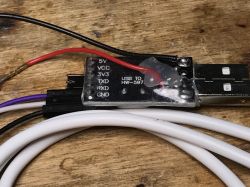
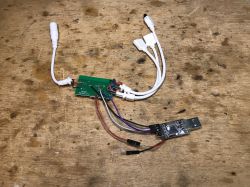
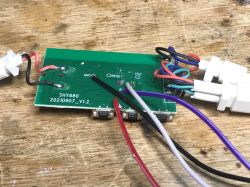
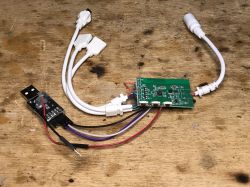
Let me remind you - I take 5V directly from the USB, not from the "5V" pin on this dongle, because the 5V pin there is used to select logical levels and it never wanted to act reliably as a power source.
SDK repository from Github
The W800 SDK is available for free on the web. Just download them. I used the SDK available at:
https://github.com/List-View/wm_sdk_w800
There is also a firmware upload program - compiled Windows binary, wm_tool.exe.
I used a GUI addon for GIT - SourceTree to download the repository.
IDE and W800-C400 compiler
In addition to the SDK, you need to download the compiler and development environment separately.
You have everything ready in the form of one installer for Windows. The IDE is simply a wrapper for Eclipse, which you may already know from other microcontrollers or even from writing Java applications.
IDE is called CDS and download them from here:
https://occ.t-head.cn/community/download
This requires registration!
The file I downloaded was named: cds-windows-mingw-elf_tools-V5.2.11-20220512-2012.zip
After installation, we should get a path of this type:
W:\C-Sky\CDS
Folder content:
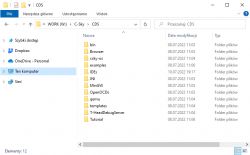
Now open the IDEs folder:
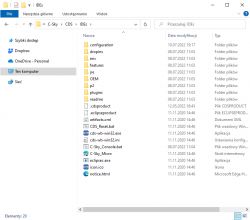
cds-wb-win32.exe runs our development environment.
For formalities, the CDS version I used is:
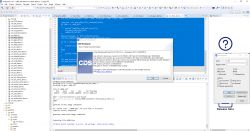
Quote:
C-Sky Development Suite for CK-CPU C / C ++ Developers (V5.2.11 B20220512)
csky-elf-tools Version: gcc version 6.3.0 (T-HEAD C-SKY Tools V3.10.29 Minilibc abiv1 B20210423)
csky-elfabiv2-tools Version: gcc version 6.3.0 (T-HEAD C-SKY Tools V3.10.29 Minilibc abiv2 B20210423)
riscv64-unknown-elf-tools Version: gcc version 10.2.0 (Xuantie-900 elf newlib gcc Toolchain V2.4.0 B-20220427)
cskysim Version: cskysim v3.8.15 (QEMU V6.1.0) B20220414
CPF Version: cpf version 3.4.4 B20220414
DebugServer Version: 5.14.03 (Build: May 12 2022)
Copyright (c) 2010-2022 Hangzhou C-Sky Microsystems Co., ltd. All rights reserved.
Visit https://occ.t-head.cn/
First compilation in CDS
You already have an open IDE - now you are opening the project.
Project-> Open Multi Project Workspace
Open the project file from the downloaded SDK: W: \ GIT \ wm_sdk_w800 \ tools \ w800 \ projects \ SDK_Project \ project \ CDS
The project will be imported and you will get the following effect:
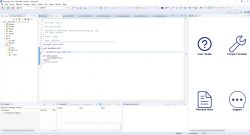
In Project Explorer, you can now view files with C code:
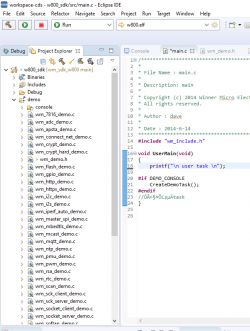
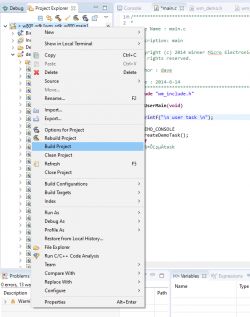
You can compile via build:
It should go without problems:
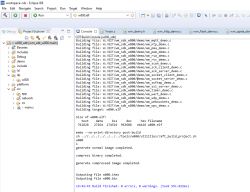
Here are the results:

Update 2026
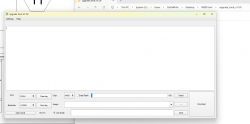
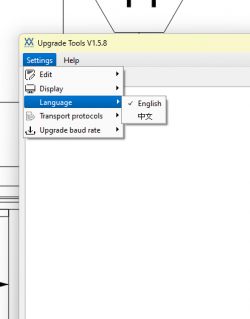
As of 2026, this platform read/write is also supported by our flash tool:
https://github.com/openshwprojects/BK7231GUIFlashTool
The connection (soldering, wires), is the same, but you can use our tool instead of the legacy one.
Please check it out and use it instead of legacy tools, let us know how it works for you!
Uploading a firmware by wm_tool.exe
wm_tool.exe is in the tools folder of the downloaded SDK.
This is, of course, a command line utility.
It's like "esptool.py", you could say, simplified to say, how someone knows ESP.
It allows, among others. upload the firmware via UART.
Here the usage information of wm_tool.exee:
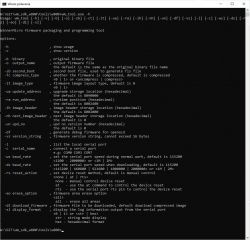
To upload the firmware, give the path to the FLS file and select our COM port (virtual):
wm_tool.exe -c COM9 -dl W: \ GIT \ wm_sdk_w800 \ bin \ w800 \ w800.fls
So we execute this command and get:

Now you have to reboot the device - either via the RESET signal or by cutting and connecting the power supply.
It is programmed:

There is no need to worry about the 0% progress visible for the entire programming time, the program just does not refresh this counter.
Structure of a demonstration project
Let's analyze what is happening and where.
Of course, I won't go into what happens before "main" call, because here I am describing the basics.
main calls CreateDemoTask :
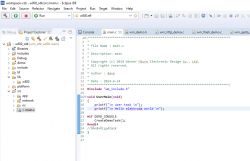
CreateDemoTask is in wm_demo_console_task.c :
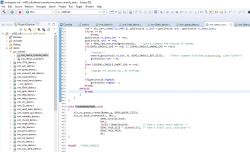
This is basically the UART command line from which you can run demos.
Wm_demo_console_task.c also has its parsing, command tokenization, and so on.
In turn, wm_demo_console.h has a table of all demos and their commands:
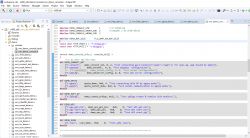
There is also a configuration file - wm_demo.h.
And here CAUTION - demos are by default disabled, they must be enabled by changing one OFF to ON :
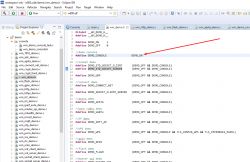
It is supposed to be DEMO_ON, the default is OFF. Without this, the demo console will not start!
You also need to run separate demos that interest us:
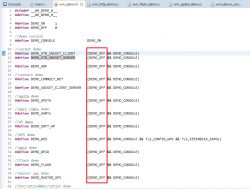
It's time to recompile the firmware and upload to the W800.
Demonstration program
After uploading the firmware , you must perform a RESET (reboot) for the program to start working.
Now communicate with the device on baud 115200.
At the start you get:
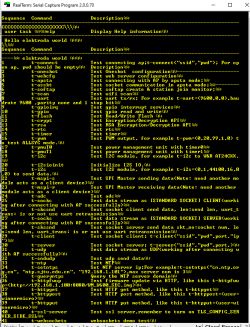
(maybe apart from the hello world message, I wrote it myself in main () for the test)
Let's send the "demohelp" command, but without the CRLF (newline, carriage backspace):
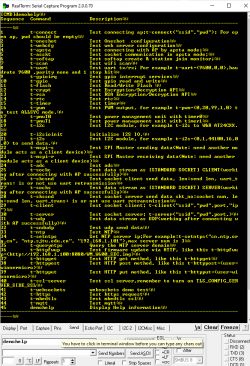
Well, it's the same message, but it works.
Let's try t-scan:
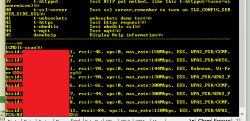
It works!
Out of curiosity - the demo code is in wm_scan_demo.c.
Here is the most important excerpt:
Code: C / C++
Let's try to run a demo of creating a WiFi access point:
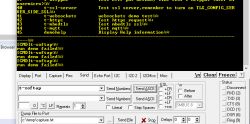
Was there a problem? Yes, but the message does not explain it.
A glance at the demo table shows that you still need to provide some arguments:
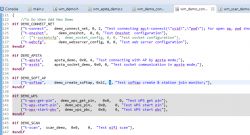
Let's take a look at the appropriate file, what are the arguments ...
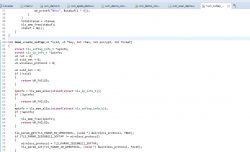
There is a bit of it. You still need to scroll down to find out exactly what we need to enter, what the next numerical values mean, e.g. the encrypt parameter:
Code: C / C++
You have been triggering a command, but it's not that simple either.
I tried like this:
t-softap MyTestWiFi Password123 25 0 0
But it didn't work.
A glance at command parsing explained it all. Parentheses and commas:
t-softap(MyTestWiFi,Password123,25,0,0)
Very interesting command format, I don't see it often.
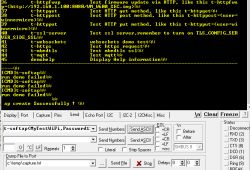
It works:
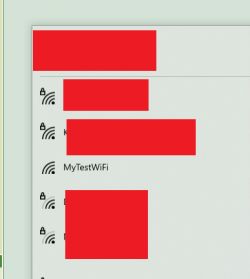
GPIO, PWM, Flash and others
There are many demos for the basic usage of this microcontroller. You can easily find demos for GPIO, PWM, Flash memory access and much more.
For example, wm_gpio_demo.c:
Code: C / C++
Or wm_flash_demo.c:
Code: C / C++
Or you can also look at other SDKs, for example for the Arduino port, here:
https://github.com/w600/arduino/blob/master/cores/w600/core_w600_wiring_pwm.c
(This is for the W600 but these platforms are somewhat similar)
Firmware update via WiFi
The last thing I will show is the firmware update via WiFi, i.e. OTA - Over The Air upgrade.
In this case, the OTA client is ready, it is more precisely the HTTP client that downloads the firmware file from the given URL.
So we must have a server. You could use the Xampp package from Apache, for example, but why complicate things?
A more convenient option is Node-red because it can be scripted to serve us a file directly from the compilation folder via a virtual path.
Alone Node-red I won't describe here, but this is what my nodes look like:

Node catches the GET request and then processes it in the Function node:
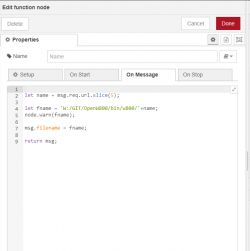
Here, I take the name of the file from the path and retrieve it from the disk. It is important that the ReadFile node reads it as a binary buffer and not, for example, UTF8:
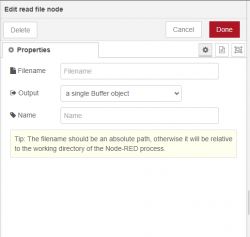
After making changes to Node-Red, remember to click Deploy.
From now on, my machine has an HTTP Node-red server and after entering the address:
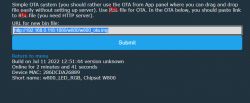
http://192.168.0.118:1880/w800/w800_ota.img
returns the given file to me from the folder with the SDK.
Now the question is what on the side of the SDK ... one function is enough:
Code: C / C++
The system will download the update automatically and restart the W800.
Ready!
Practical advices
I won't cover C programming itself here, but there are a few things worth mentioning. First of all, this SDK is based on FreeRTOS, which is missing a few things - it's worth configuring yourself.
- in FreeRTOSConfig.h I recommend to enable mutexes - #define configUSE_MUTEXES 1
- in FreeRTOSConfig.h I recommend to turn on heap management, because without it we have to point to the heap ourselves when creating a thread - #define configUSE_HEAP2 1
- but the heap_4 (with defragmentation) algorithm would be better, not present in the heap_2 SDK, but this one is not available ... if we allocate memory often, it would be worth moving the SDK to newer FreeRTOS
- in FreeRTOSConfig.h I recommend increasing the size of the buffer for heap allocation - #define configTOTAL_HEAP_SIZE ((size_t) 48 * 1024)
- the SDK includes the lwip2.0.3 library (Lightweight TCP / IP stack), but only basic functionalities such as sockets, DHCP are used from it. If we want to use, for example, the MQTT client, it should be added separately to the sources
- remember that if we have an IDE (these magic CDS), we do not need to edit the Makefile, just add the file to the project in CDS, it is already included in the compilation
- MQTT with lwip 2.0.3 (or there 2.0.2) has the problem that I have already mentioned several times in other topics, that it does not take into account the MQTT password / username. You should add a few missing lines or copy the corrected version from me:
https://raw.githubusercontent.com/openshwproj...n378/func/lwip_intftt/lwip_intftt/lwip_appq.2
- WinnerMicro build configuration is in wm_config.h
W800 port for OpenBeken
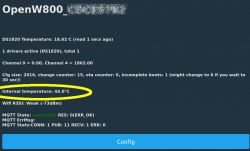
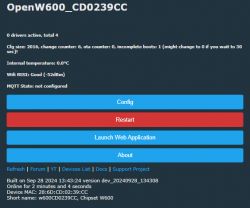
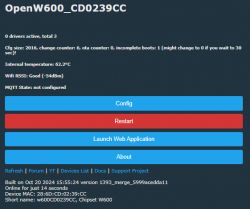
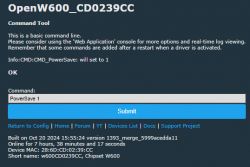
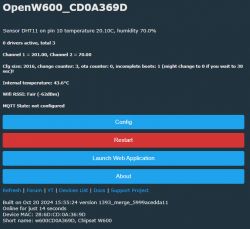
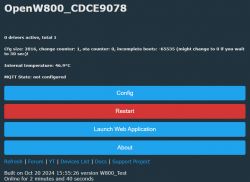
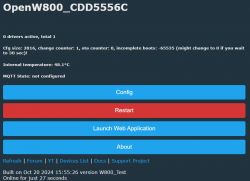
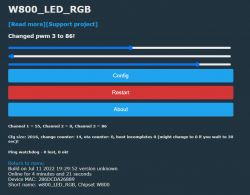
Of course my firmware (Tasmota / Esphome replacement) for other WiFi platforms found in IoT devices it has already been ported to the W800. There weren't a lot of problems with that. At the moment it looks like this:
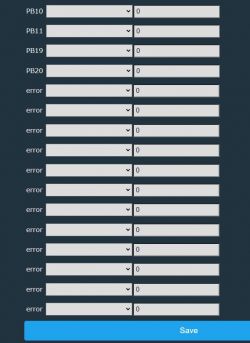
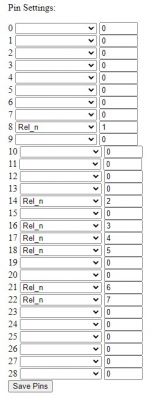
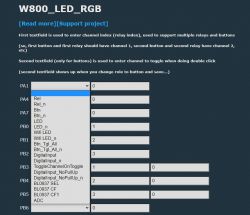
The pin configurator, MQTT, also works:
And OTA:
My firmware port for this platform is fully functional at the moment
Summary
Another WiFi / Bluetooth microcontroller running - and this time it wasn't that hard at all. It is true that I do not know any reliable English source about it, but the SDK did not have such a mess that it would not be able to run it. Even the update of the firmware via WiFi was achieved (OTA), and this is something very useful for both development and end users.
I liked the fact that there were no problems with the compiler and toolchain, everything was ready in one install, including the IDE.
The related W600 also has its own port for Arduino, available here:
https://github.com/w600/arduino
but I haven't tested it yet and I don't know how much the W600 differs from the W800 either. Nevertheless, I also plan to add W600 support to my firmware, all in good time.
That's it for now, and now I will ask if anyone has played with the platforms yet W600 or W800 ? I don't think I'm going to go any further, I developed the W800 just enough to be able to pair my WX300P LED strip from Home Assistant, but who knows ...
I attach some interesting materials about the W800 / W600, including a repo packed with a flasher (wm_tool.exe) in a zip, as well as materials from the manufacturer that I did not describe here, including a slightly newer SDK (2021 12 03)
Cool? Ranking DIY Helpful post? Buy me a coffee.


