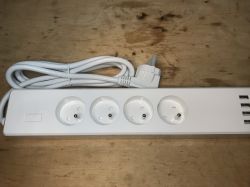
 I will present here the interior, a short test and a firmware change of a four-slot power strip/extender that also offers a rather powerful USB charger, all controlled via WiFi. This power strip allows us to control each socket individually and, in addition, to switch on or off the entire USB charger module, which is essentially built around five relays. In addition, I will also point out that the quality of this product is not as low as it usually is, there is even an overcurrent protection inside!
Purchase Woox R4027 In a Polish shop it costs 140 zł:
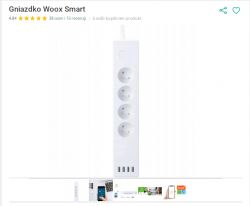
The seller praises it very much, although in my opinion the downside is that it has to work with Woox cloud, but I will also solve this problem in this topic:
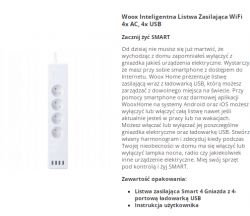
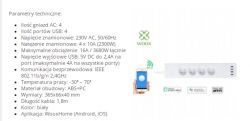
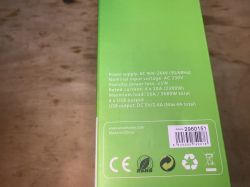
Technical parameters, 4A USB current capacity?
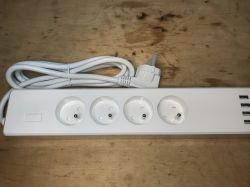
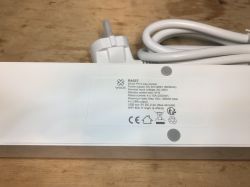
Let's see what the product looks like in practice:
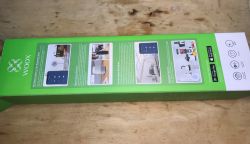
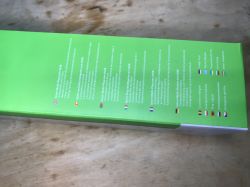
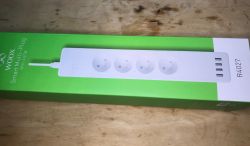 .
. 
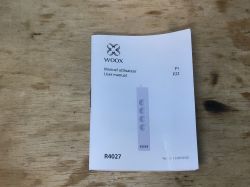
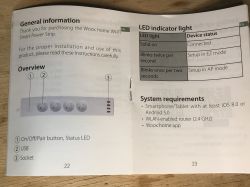
 Instructions:
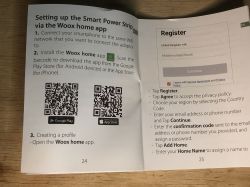
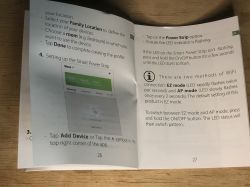
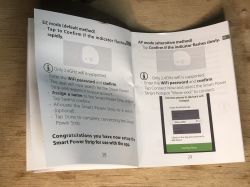
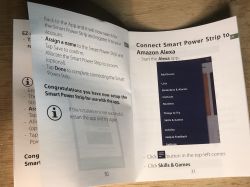
Current capacity test A short test with LD35 and LD25 loads shows, that the strip can provide up to 4.5A, which is 0.5A more than promised by the seller. This is very good.
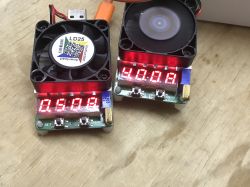
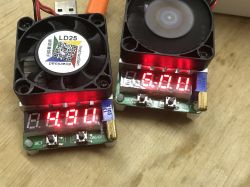
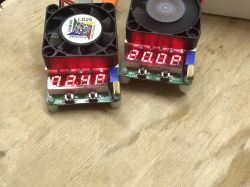 Interior of Woox R4027
 List has screws hidden under the feet, but the screws require a triangular screwdriver:
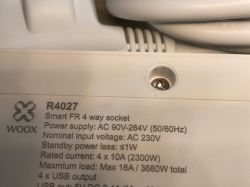
When the screws are removed, we discover a rather rich interior:
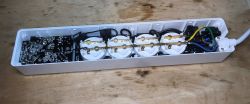
This is the charger module, it is connected with only two wires, N and L:
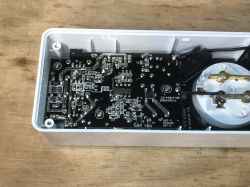
Underneath you can see the PCB with relays and WiFi module, there is also a ground connection and a fuse:
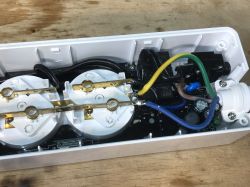
Removing screws:
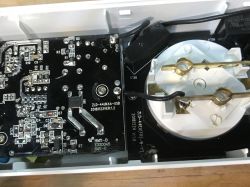
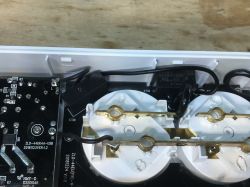

Power supply module removed. You can see that this 4.5A gives, this is not a typical 2A power supply:
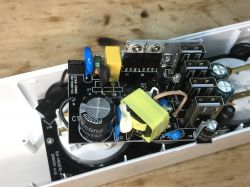
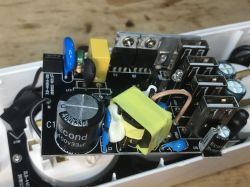
To remove the second PCB you have to desolder the ground. It must be soldered in place after the firmware change:
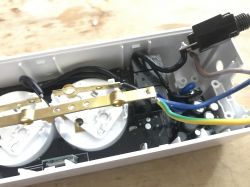
Finally freed PCB:
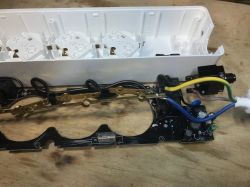
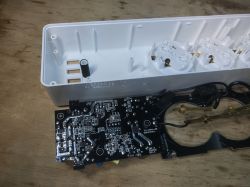
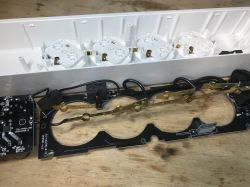
Well, there's the WiFi module - TYWE2S:
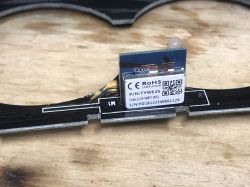
There you can see the ground cut and the power supply module:
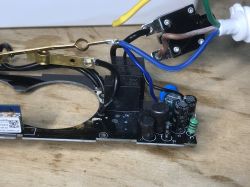
For this strip we are protected by Topstone L3 Series 16A:
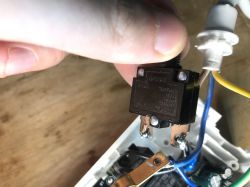
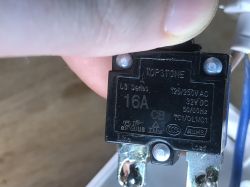
This is a definite plus! Other reviewed strips offered nothing like this:
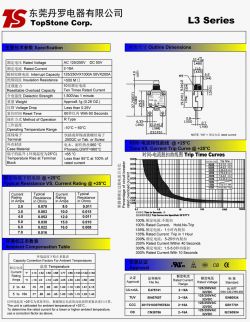
The PCB power supply with WiFi is built on the OB2225RCP. Its designation is ZLD-44EU(FR)-W-YT V:1.5
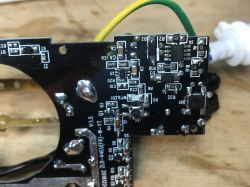
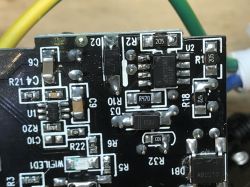
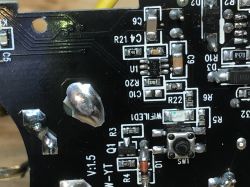
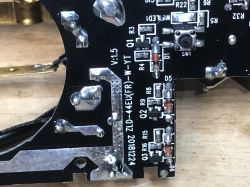
 This is not an isolated power supply, it is a step down converter:
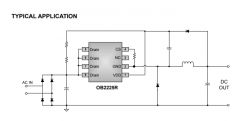
Even according to the datasheet it is a circuit for smart home applications:

The USB power supply looks a bit better, it even has filters on the input, varistor, capacitor:
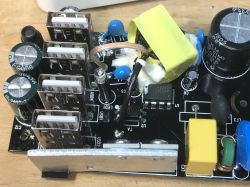
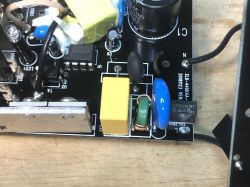
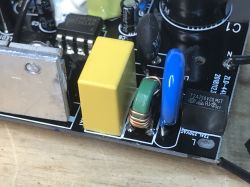
It is based on OB2365AP:
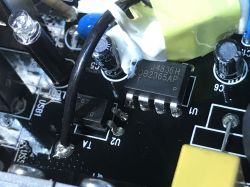
This time it's a flyback:
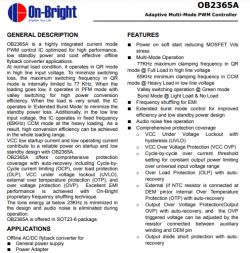
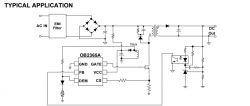
I'm a bit confused about the leads, in the photo there are 8 legs, in the note there are 6, but I see also an optocoupler in the photo so probably the layout is similar to the one in the note.
Changing firmware
For convenience I soldered the WiFi module using the flux + braid method:
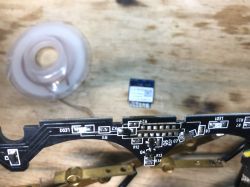
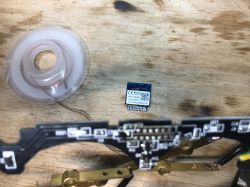
TYWE2S is ESP8266, you need to solder RX, TX, VDD (3.3V), GND and GPIO0:
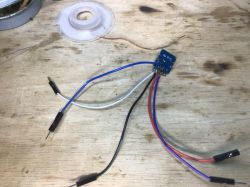
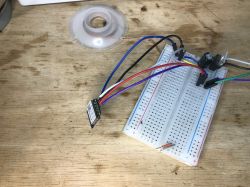
Programming as usual:
SmartLife switch - test, interior and programming light switch on WiFi
I uploaded Tasmota via esptool, no problems.
Role of leads guessed. The TYWE2S only has a few leads, not many options:
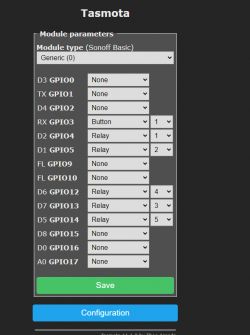
The fifth relay is USB. The first four are sockets.
I almost forgot - the LED from WiFi is on the TX.
Short video of testing (but I advise against doing something like this so you don't short circuit):
. Summary This is one of the better power strips I have reviewed. The USB power supply is a bit better, the protection of the strip itself is also not bad (especially considering that the competition didn't have it at all), and there's an ESP8266 inside, so you can upload the tried-and-tested Tasmota.
It's only a bit of a shame that this charger doesn't support any QC-type standards and isn't able to give anything more than 5V, but for me personally it's not that important yet, still most household members still have devices that don't support charging with higher voltages, so there's not much need for it yet, although it's not future-proof. Hardly. I will look for such a product in the future, only that with QC.
Cool? Ranking DIY Helpful post? Buy me a coffee.


![[TYWE2S/ESP8266] Woox R4027 four-slot WiFi controlled USB power strip [TYWE2S/ESP8266] Woox R4027 four-slot WiFi controlled USB power strip](https://obrazki.elektroda.pl/6501234800_1752419981_bigthumb.jpg)