 .
.
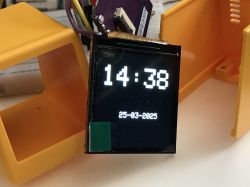
Here is a short tutorial showing how to run a 2.5" 240x240 ST7789 display with an ESP8266. I will present here two separate ways, the first will be based on a library from Adafruit and the second will come down to running the TFT without external libraries. In this way, I am preparing the basis for building my own clock/weather station or any other gadget with a display based on SmallTV-Ultra.
Let me remind you of the previous topic:
[Polish] SmallTV-Ultra that is a small display on ESP8266 showing weather forecast, photos, animations .
[English] SmallTV-Ultra which is a small display on ESP8266 showing weather forecast, pictures, animations .
In this theme I will use PlatformIO , which is an add-on for Visual Code. I've presented this platform before, and I'll start the adventure with my typical code including ArduinoOTA (batch updates via WiFi) and WiFiManager (WiFi configuration):
[Polish] How to program a Wemos D1 (ESP8266) board in the shape of an Arduino? ArduinoOTA in PlatformIO .
[English] How to program the Wemos D1 (ESP8266) shaped Arduino board? ArduinoOTA in PlatformIO .
[Polish] WiFi Manager in PlatformIO - convenient WiFi configuration for ESP8266 and ESP32 - tutorial
[English] WiFi Manager in PlatformIO - convenient WiFi configuration for ESP8266 and ESP32 - tutorial
Startup with Adafruit_ST7789 .
Adafruit offers an off-the-shelf solution to support this display, but you must first configure it properly.
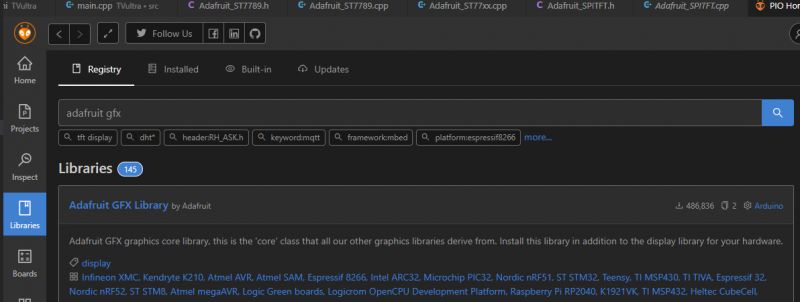
Install first Adafruit_GFX (common graphics base) and then Adafruit_ST7798 :
 .
.
In the software we define the pins, in the case of this board these are:
Code: C / C++
SPI is hardware based, so we do not need to define these pins. We create a TFT object:
Code: C / C++
We also need to run it - here it is important to set the SPI MODE3 mode, that is, with polarity (CPOL) = 1 and phase (CPHA) = 1. This means that the clock signal starts from a high state and the data is transmitted on a rising edge.
Code: C / C++
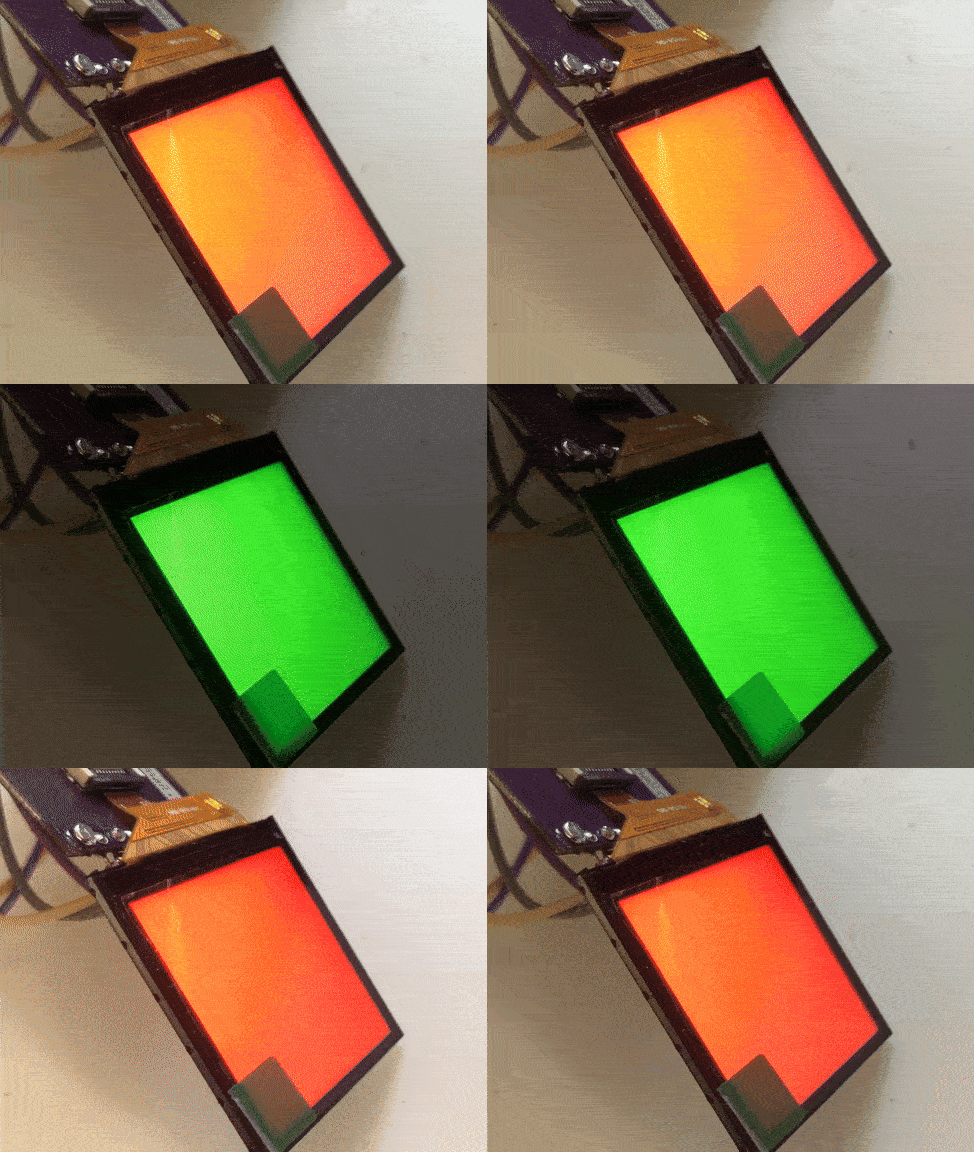
I alternate the screen between two colours for demonstration in a loop:
Code: C / C++
ST77XX_RED and ST77XX_GREEN are predefined colour values from the presented library, later I will show how to generate my own RGB.
Full code:
Code: C / C++
Result:
 .
.
Text from Adafruit_ST7789 .
The library from Adafruit, however, offers much more. For example, it already has fonts uploaded, so you can also display text. First position the cursor on the screen, and then display the subtitles one by one. You can also display a number. Everything is done automatically, the cursor also moves itself.
Code: C / C++
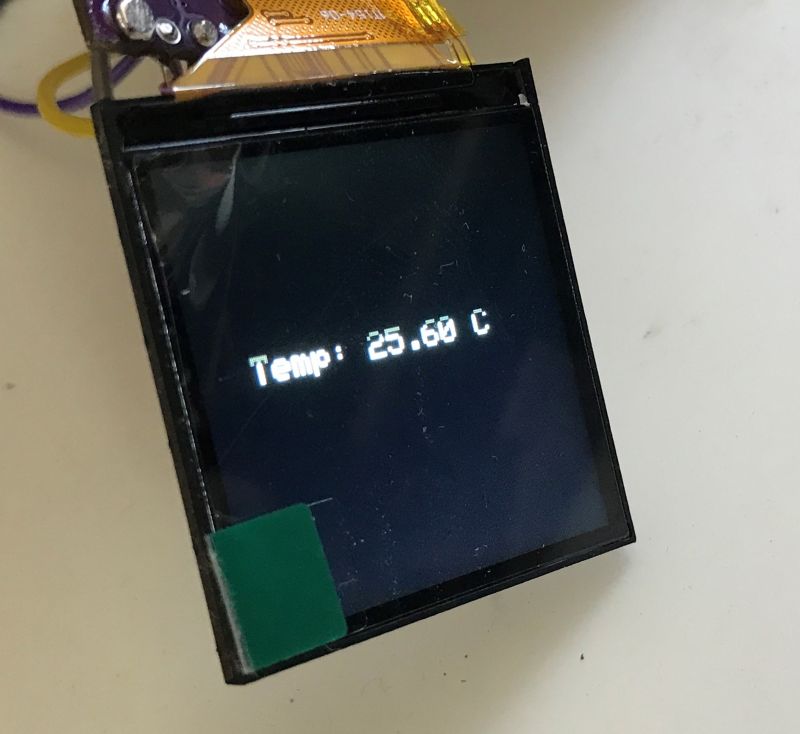
Here is an example program displaying some random temperature value on the screen:
Code: C / C++
Result:
Colours from Adafruit_ST7789 .
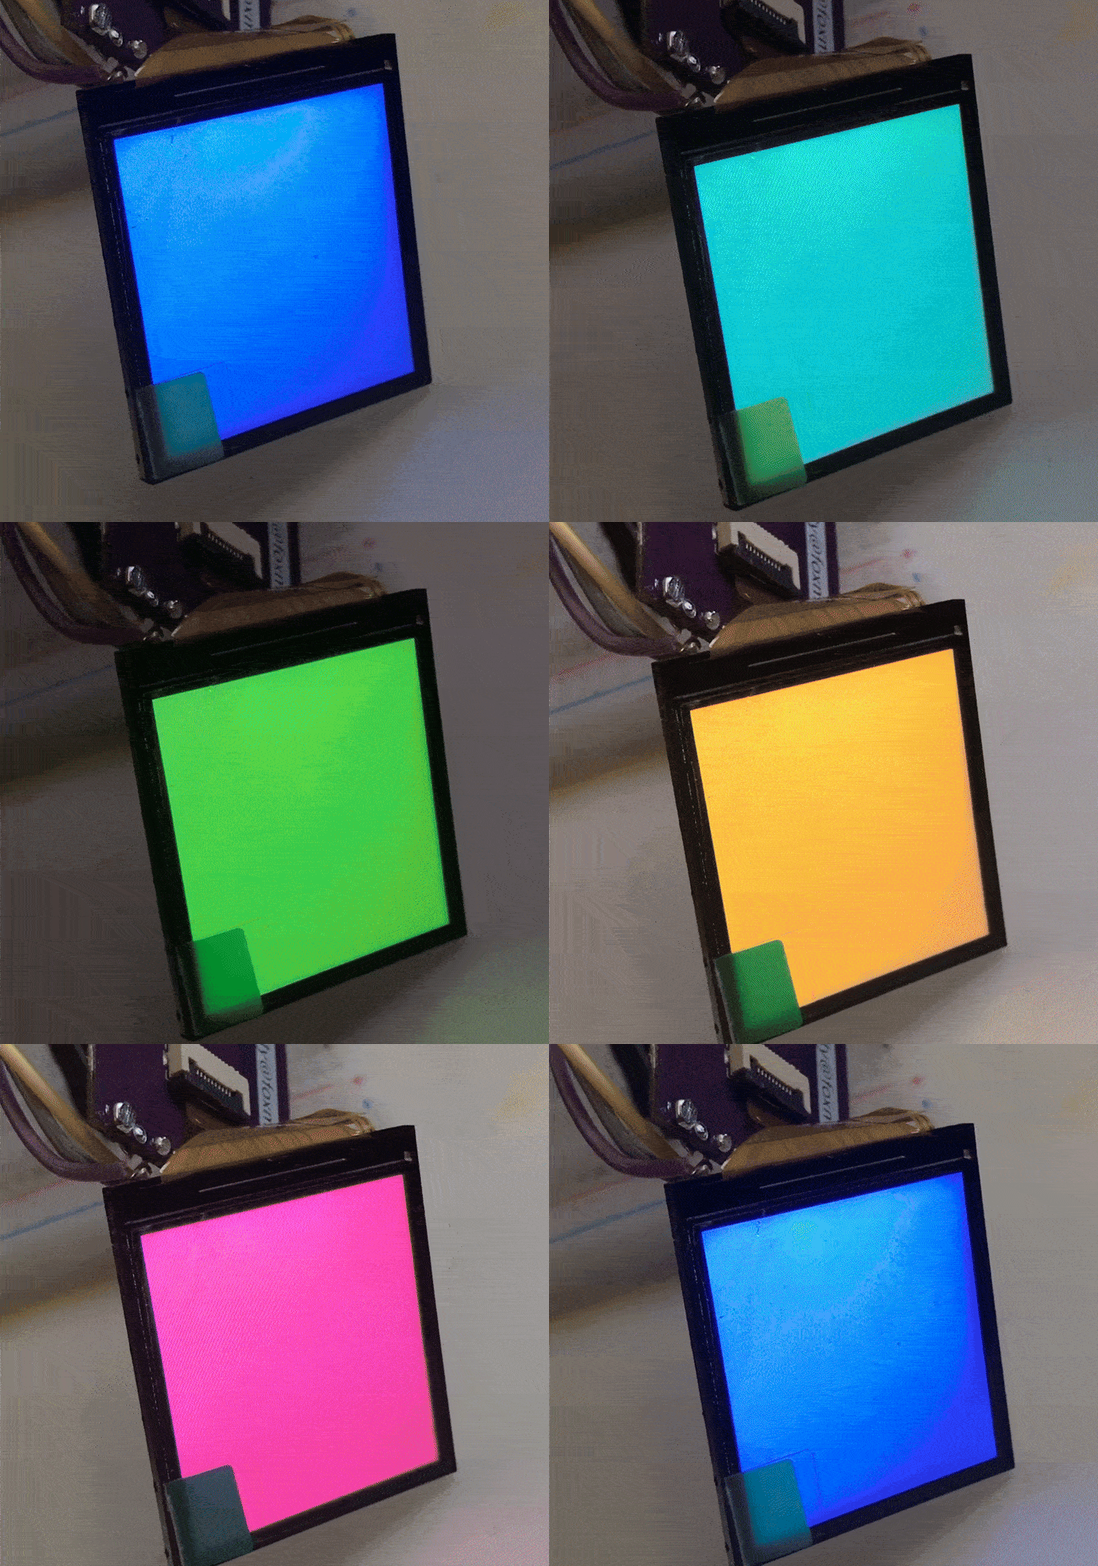
However, let's not forget that this display is in colour. The function tft.colour565 creates a 16-bit colour code for R, G and B data from the ranges [0,255]. For demonstration purposes, I have developed a simple colour loop generation based on sine functions:
Code: C / C++
Result:
 .
.
The clock from Adafruit_ST7789 .
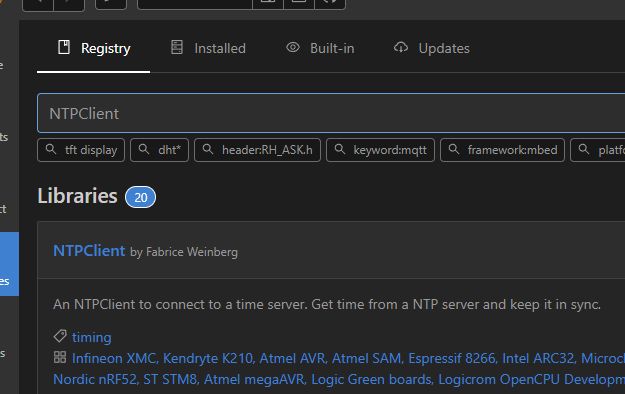
You can also create a simple clock. We will need a client for the NTP service, or Network Time Protocol. It will retrieve the current date and time from the Internet. We install the NTPClient:
 .
.
In addition, we similarly install TimeLib to be able to process time more conveniently and extract a bit more information from the time_t type.
We include the headers:
Code: C / C++
We create objects:
Code: C / C++
In the constructor, the address of the NTP server from which we retrieve the time is given. It remains to run the client:
Code: C / C++
and updating it:
Code: C / C++
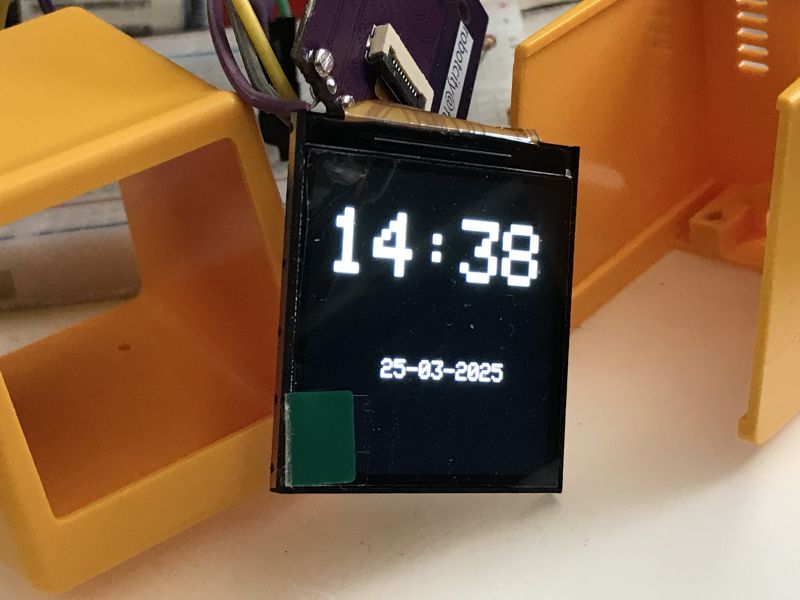
Now the time needs to be displayed. In order to reduce screen flashing, I added a condition in the refresh so that it only executes when the current minute changes. I retrieve the time from the NTP client in epoch form (time_t) and then extract the individual date and time values from it.
Code: C / C++
It is worth noting the use of tft.printf, this function allows you to format the displayed text just like a normal printf. These 02 means that we want two-digit values.
The result:
 .
.
The full downloadable project is at the end of the topic.
Implementation without external libraries .
In the previous topic I presented an example code from the display manufacturer itself. Here I have transferred this code to PlatformIO. I changed the port operations to digitalWrite and the SPI data transfer itself I moved to the hardware SPI.transfer. Initially, I also tried sending data fully programmatically, via bit-banging (operations on IO pins), but this was so inefficient that I even had to increase the watchdog time to prevent it from resetting the chip.... I quickly let it go, it's unnecessary fun when we have hardware SPI.
Code: C / C++
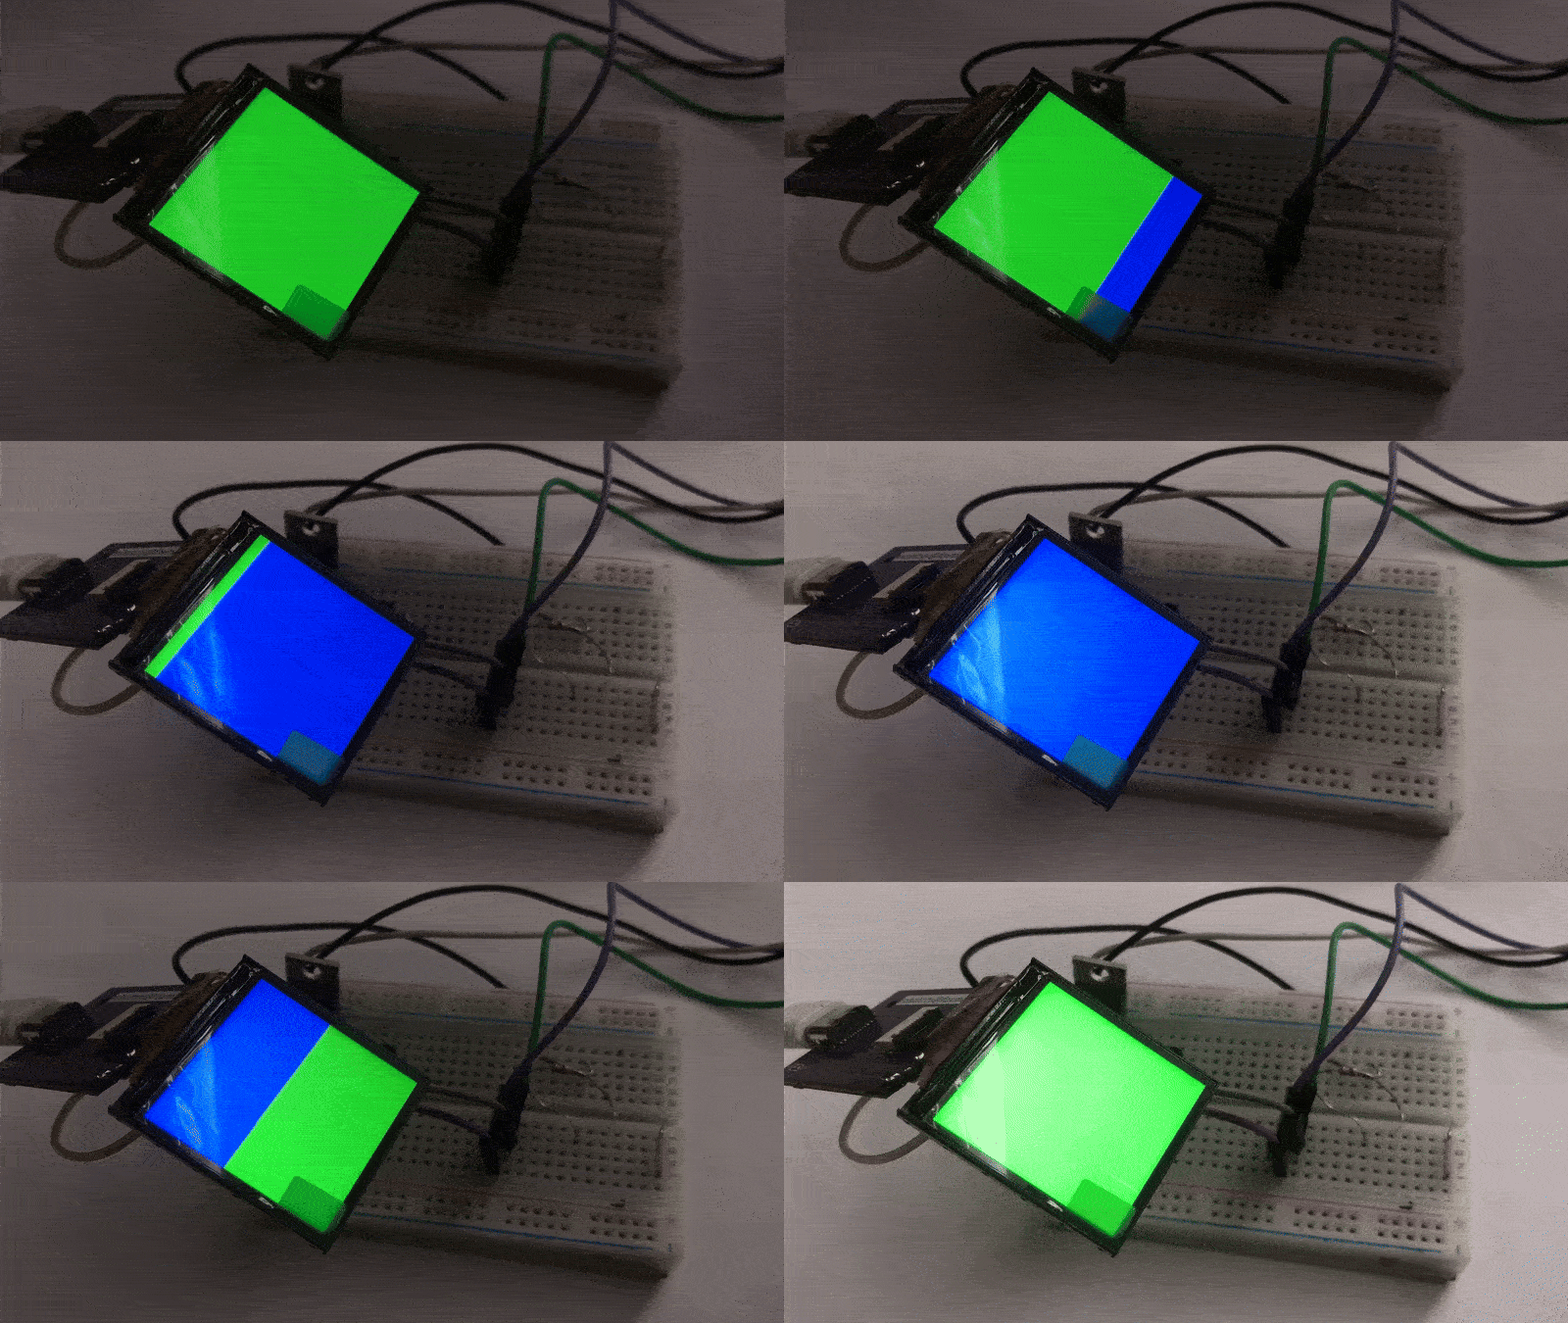
The example developed just turns on the backlight and colours the screen alternating between two selected colours.
The result:
 .
.
Summary .
This makes it easy to run SmallTV-Ultra in PlatformIO. I've actually shown two ways to do this here, although I treat the second one more as a curiosity - in its case we would probably have to implement drawing shapes, lines as well as displaying text ourselves. Much easier is the first way, which is a ready-made library from Adafruit - there is even a built-in font there.
Now, it would be possible to develop the example shown here and enrich it for example with temperature reading from OpenWeatherMap, so as I once showed , or simply connect DHT11, and maybe some buzzer and buttons?
Do you have any ideas what could be done with this screen in the next part, what to add, what to make up? Feel free to comment.
Cool? Ranking DIY Helpful post? Buy me a coffee.


