Elektroda.com
Elektroda.com
X

Dimmer EDM-01AA-EU 300W for BK7231 and TuyaMCU - configuration

p.kaczmarek2 3501 6
This content has been translated flag-pl » flag-en View the original version here.
  • Dimmer EDM-01AA-EU 300W for BK7231 and TuyaMCU - configuration
    Hello. It will show the EDM-01AA-EU smart dimmer based on the WB3S and TuyaMCU WiFi module. I will demonstrate the process of changing its firmware (this requires cutting the PCB tracks) and give a ready TuyaMCU configuration for OpenBeken . This will allow us to free it from the cloud, from the manufacturer's servers and connect it to the Home Assistant.

    Purchase of EDM-01AA-EU
    The dimmer can be bought in various online stores for prices up to about PLN 100, although this could change slightly with the increase in the $ exchange rate. I bought it earlier this year. Sometimes the product is under the MoesHouse logo and sometimes Tuya.
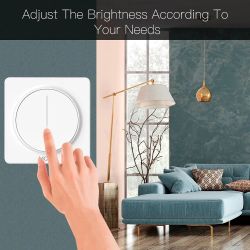
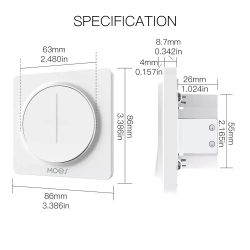
    Promotional graphics:
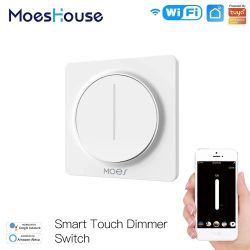
    Dimmer EDM-01AA-EU 300W for BK7231 and TuyaMCU - configuration
    Dimmer EDM-01AA-EU 300W for BK7231 and TuyaMCU - configuration
    Dimmer EDM-01AA-EU 300W for BK7231 and TuyaMCU - configuration
    Parameters according to one of the stores (triac dimming, right?):
    Quote:

    Input power: 100-240V AC 50-60Hz
    Dimming control: TRIAC Edge Cut
    Inductive load (LED / CFL): 220W Max
    Resistive load (Incandescent): 300W Max
    Communication: WiFi 802.11 b / g / n 2.4GHz
    Control channel: 1 CH
    Standby power: 0.5W
    Working temperature: -10 ? -45 ?
    Working humidity: 90%
    Button life: 500K times
    Dimension: 86 * 86 * 43mm
    Plug: EU plug

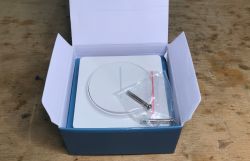
    Package:
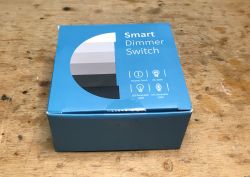
    Dimmer EDM-01AA-EU 300W for BK7231 and TuyaMCU - configuration Dimmer EDM-01AA-EU 300W for BK7231 and TuyaMCU - configuration Dimmer EDM-01AA-EU 300W for BK7231 and TuyaMCU - configuration
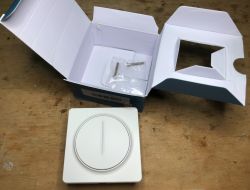
    Kit contents - screws for fixing:
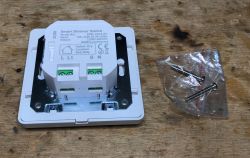
    Dimmer EDM-01AA-EU 300W for BK7231 and TuyaMCU - configuration Dimmer EDM-01AA-EU 300W for BK7231 and TuyaMCU - configuration Dimmer EDM-01AA-EU 300W for BK7231 and TuyaMCU - configuration


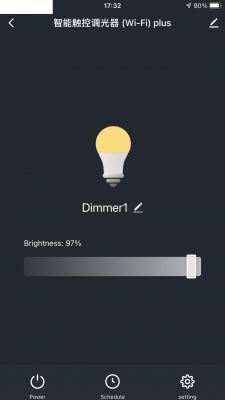
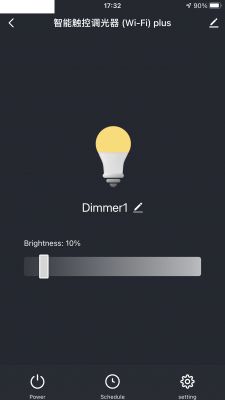
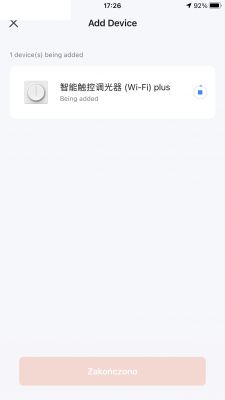
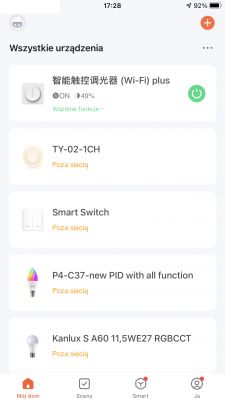
    A short test with the Tuya app
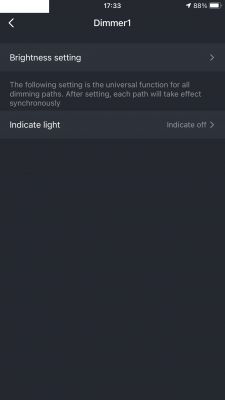
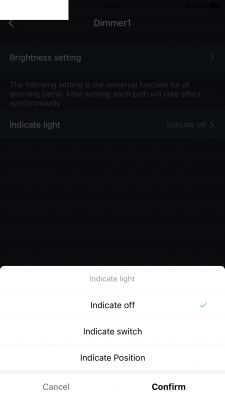
    The Tuya application has been discussed many times - here I will only show the screenshots of how this dimmer looks in it.
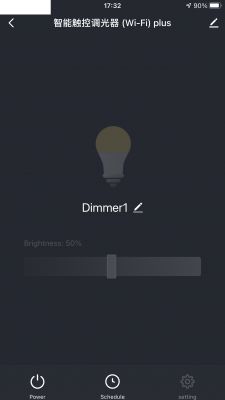
    Dimmer EDM-01AA-EU 300W for BK7231 and TuyaMCU - configuration Dimmer EDM-01AA-EU 300W for BK7231 and TuyaMCU - configuration Dimmer EDM-01AA-EU 300W for BK7231 and TuyaMCU - configuration Dimmer EDM-01AA-EU 300W for BK7231 and TuyaMCU - configuration Dimmer EDM-01AA-EU 300W for BK7231 and TuyaMCU - configuration Dimmer EDM-01AA-EU 300W for BK7231 and TuyaMCU - configuration Dimmer EDM-01AA-EU 300W for BK7231 and TuyaMCU - configuration
    The application also offers to change the available dimming range. It's convenient. You can "cut" too light or dark operating mode.
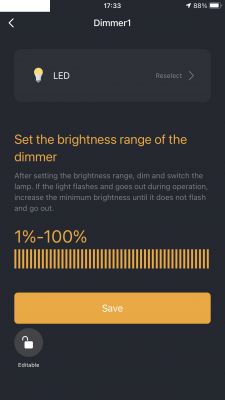
    Dimmer EDM-01AA-EU 300W for BK7231 and TuyaMCU - configuration

    The interior of the EDM-01AA-EU
    Getting inside is a bit more difficult than usual. More hooks and screws.
    Removed front (catches):
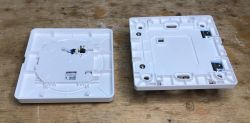
    Dimmer EDM-01AA-EU 300W for BK7231 and TuyaMCU - configuration
    The big button is removed, it has two mounting feet that need to be undone, you can use two flat screwdrivers:
    Dimmer EDM-01AA-EU 300W for BK7231 and TuyaMCU - configuration
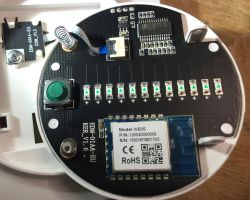
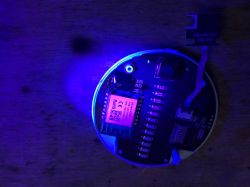
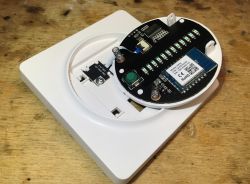
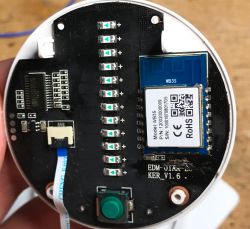
    PCB with WiFi module and TuyaMCU (TuyaMCU supports all button, and WiFi only communication). Here the WB3S - BK7231T is used.
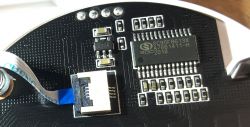
    Dimmer EDM-01AA-EU 300W for BK7231 and TuyaMCU - configuration
    Dimmer EDM-01AA-EU 300W for BK7231 and TuyaMCU - configuration
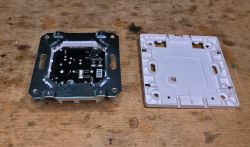
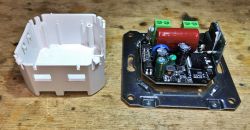
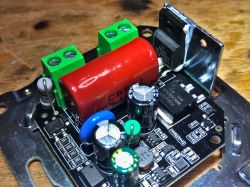
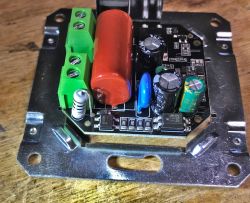
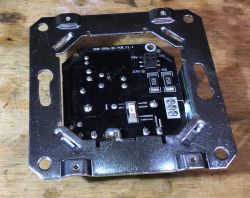
    No further disassembly is needed to change the firmware. I am showing it for information only. Out of curiosity - what does the dimmer have inside?
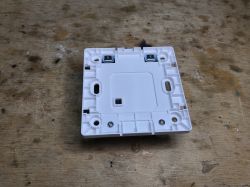
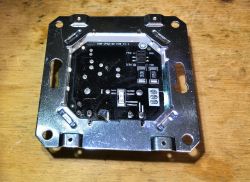
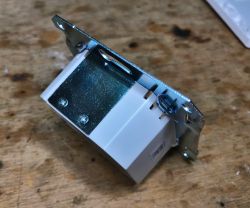
    Dimmer EDM-01AA-EU 300W for BK7231 and TuyaMCU - configuration Dimmer EDM-01AA-EU 300W for BK7231 and TuyaMCU - configuration Dimmer EDM-01AA-EU 300W for BK7231 and TuyaMCU - configuration Dimmer EDM-01AA-EU 300W for BK7231 and TuyaMCU - configuration Dimmer EDM-01AA-EU 300W for BK7231 and TuyaMCU - configuration
    I was expecting a triac here, but still not ...
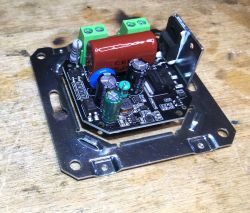
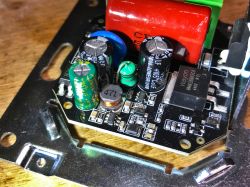
    Dimmer EDM-01AA-EU 300W for BK7231 and TuyaMCU - configuration Dimmer EDM-01AA-EU 300W for BK7231 and TuyaMCU - configuration Dimmer EDM-01AA-EU 300W for BK7231 and TuyaMCU - configuration Dimmer EDM-01AA-EU 300W for BK7231 and TuyaMCU - configuration
    Dimmer EDM-01AA-EU 300W for BK7231 and TuyaMCU - configuration
    Semiconductors:
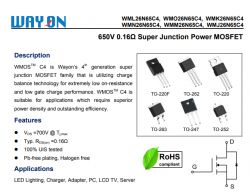
    - WML26N65C4 (TO-220) - N MOSFET
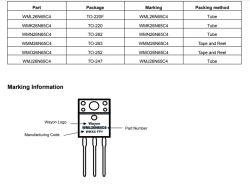
    Dimmer EDM-01AA-EU 300W for BK7231 and TuyaMCU - configuration
    Dimmer EDM-01AA-EU 300W for BK7231 and TuyaMCU - configuration
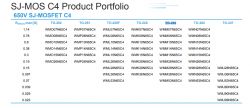
    - WMM26N65C4 (TO-263) - N MOSFET
    Dimmer EDM-01AA-EU 300W for BK7231 and TuyaMCU - configuration
    - 817C - PC817
    Dimmer EDM-01AA-EU 300W for BK7231 and TuyaMCU - configuration
    - ZRCD
    - BDAG
    I did not decrypt the SMD codes of the last two elements. It's probably something from the power system. If anyone knows what these elements can be, please comment.
    I did not analyze the dimming mechanism on MOSFETs either. It's time to focus on changing the load.

    EDM-01AA-EU Schematic
    Here is a sketch of the circuit board responsible for WiFi, for dimming control, operation of the LED strip and the button:
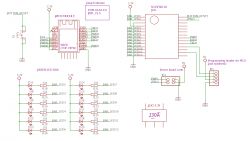
    Dimmer EDM-01AA-EU 300W for BK7231 and TuyaMCU - configuration
    Everything is handled by the microcontroller:
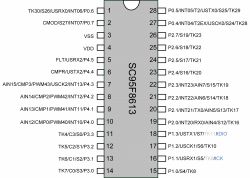
    Dimmer EDM-01AA-EU 300W for BK7231 and TuyaMCU - configuration
    The LED 'strip' is connected to it, a button and it controls the dimming (the triac is on the second PCB).
    The WB3S WiFi module only communicates with it via UART - RX and TX, the same UART that is used for programming. Unfortunately. You will have to cut paths.


    EDM-01AA-EU programming
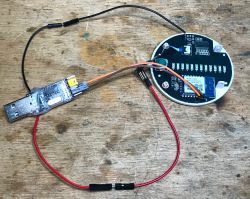
    We need to connect:
    - mass
    - power input, here you can 5V, because the board has LDO providing 3.3V for microcontrollers
    - RX from UART
    - TX from UART
    RX and TX also need to be cut off from TuyaMCU so that it does not interfere with our programming. Here are the cut paths:
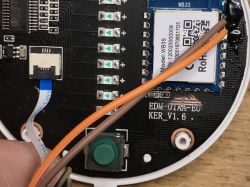
    Dimmer EDM-01AA-EU 300W for BK7231 and TuyaMCU - configuration
    GND and 5V are signed on the second board, so we know which pins are which signals.
    Whole:
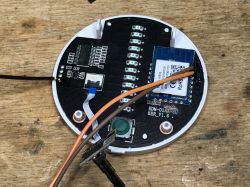
    Dimmer EDM-01AA-EU 300W for BK7231 and TuyaMCU - configuration Dimmer EDM-01AA-EU 300W for BK7231 and TuyaMCU - configuration
    bkWriter 1.60 is doing well here.
    The procedure is simple - when the program is waiting for "getting bus", for connection, disconnect and connect the power (5V cable, not the entire UART adapter!).
    Ready.
    After programming, the paths should be repaired and they can be secured, I used a UV-curable soldermask here:
    Dimmer EDM-01AA-EU 300W for BK7231 and TuyaMCU - configuration Dimmer EDM-01AA-EU 300W for BK7231 and TuyaMCU - configuration

    OpenBeken configuration for EDM-01AA-EU
    In this device, the WiFi module controls everything through TuyaMCU. There is no button or LED connected to it. We just need to configure TuyaMCU.
    The dpID values are the same as in the case of the older ESP version of this device.
    - id 1 is the on / off state
    - id 2 is a dimmer (from 0 to 1000)
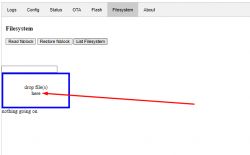
    So we create the OpenBeken script (create the autoexec.bat file and drag it to the LittleFS field in the second WWW panel - Web App):
    
    startDriver TuyaMCU
    setChannelType 1 toggle
    setChannelType 2 dimmer
    tuyaMcu_setBaudRate 115200
    tuyaMcu_setDimmerRange 1 1000
    linkTuyaMCUOutputToChannel 1 bool 1
    linkTuyaMCUOutputToChannel 2 val 2
    

    Here:
    Dimmer EDM-01AA-EU 300W for BK7231 and TuyaMCU - configuration
    After reboot, the code will automatically execute and configure TuyaMCU.

    Video presentation
    Here is how the dimmer works in two videos. It is worth paying attention to the brightening animation that TuyaMCU performs further. I only changed the batch of the WiFi module, so this animation is original.
    [film] https://filmy.elektroda.pl/7_1666720276.mp4 [/film]
    [film]https://filmy.elektroda.pl/15_1666629606.mp4 [/film]


    Summary
    The EDM-01AA-EU dimmer works in OpenBeken without any modifications to the firmware - just upload the appropriate script and TuyaMCU settings. The dimmer control can be accessed just like the control of an ordinary device, because the channels in OpenBeken are mapped to TuyaMCU channels automatically and transparent to the user.
    The dimmer from the outside looks very unusual, and the visible LED strip shows us what the brightness level is set to.
    Finally, I recommend that you familiarize yourself with a related topic:
    OpenBeken and dimmer on TuyaMCU - configuration and demonstration
    There, some mechanisms are described in more detail.

    Cool? Ranking DIY
    About Author
    p.kaczmarek2
    Moderator Smart Home
    Offline 
    p.kaczmarek2 wrote 5843 posts with rating 5827, helped 279 times. Been with us since 2014 year.
  • #2
    HumbleDeer
    Level 4  
    Post some more detailed and higher resolution pictures of the board where I can read the values and see the traces. Perhaps I can figure out what all the parts are
  • #3
    p.kaczmarek2
    Moderator Smart Home
    Thanks, but the WiFi board schematic is already drawn (see "EDM-01AA-EU Schematic" section) and the dimmer power board schematic is not really that needed, as I already reverse engineered similar device for example here:
    https://www.elektroda.pl/rtvforum/viewtopic.php?p=19489313#19489313

    The EDM-01AA-EU case is basically 100% solved, it works great in OpenBeken.
  • #4
    TurtleMCU
    Level 2  
    I have a US variant of this switch and also got it working using a similar autoexec.bat. Now I'm trying to add it to Home Assistant but the Home Assistant auto generate YAML feature doesn't seem to work when it's a TuyaMCU. I was able to get the switch portion working but can't get the dimmer to work in Home Assistant. Do you happen to know the Home Assistant configuration?

    edit: someone on reddit got it solved

    mqtt:
    #FrontPorchDimmer
        light:
        - unique_id: "Front_Porch_Dimmer"
          name: "Front Porch Dimmer"
          state_topic: 'obkBF09E5BD/1/get'
          command_topic: 'obkBF09E5BD/1/set' 
          brightness_state_topic: 'obkBF09E5BD/2/get'
          brightness_command_topic: 'obkBF09E5BD/2/set'
          brightness_scale: '100'
          qos: 1
          payload_on: 1
          payload_off: 0
          optimistic: false
          retain: false
          availability_topic: 'obkBF09E5BD/connected'
  • #5
    p.kaczmarek2
    Moderator Smart Home
    This is the correct config.
    I've also shown it here:
    https://www.elektroda.com/rtvforum/topic3898502.html
  • #6
    TurtleMCU
    Level 2  
    Thanks, I looked all over the forum yesterday and somehow did not come across that post.

    I've flashed 10 devices now, this is so much easier than installing an ESP8266 into them.
  • #7
    HumbleDeer
    Level 4  
    TurtleMCU wrote:
    edit: someone on reddit got it solved


    Do you mind sharing a link to that post or comment? There may be handy context to make use of in the future.