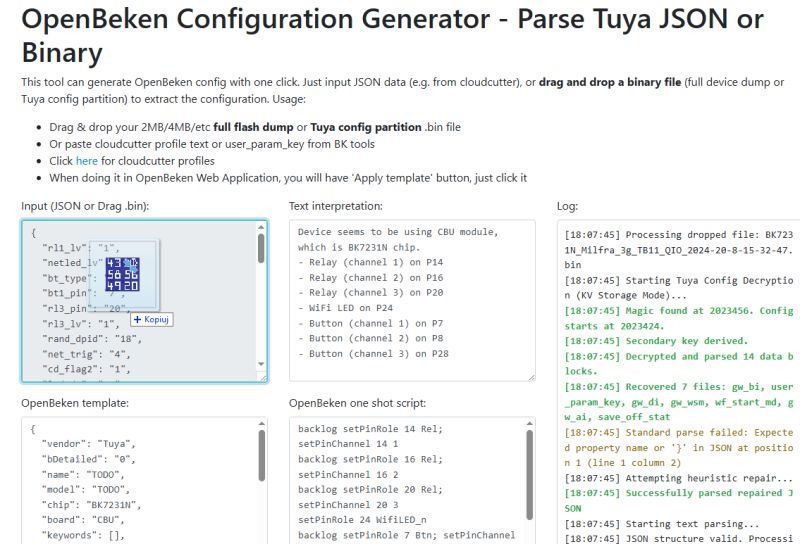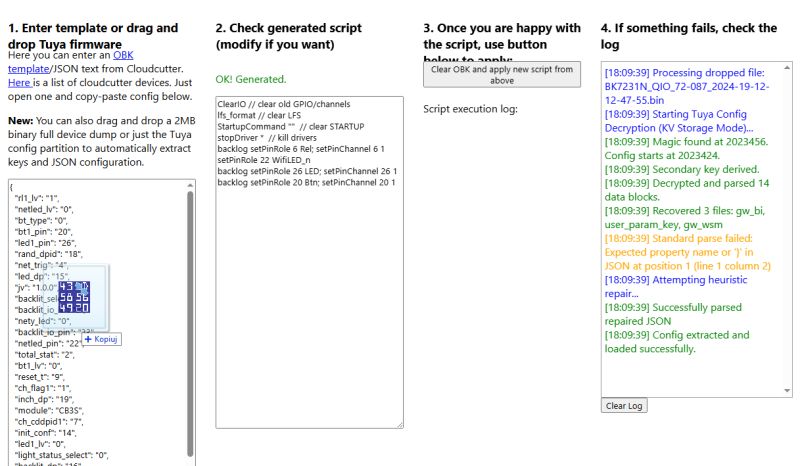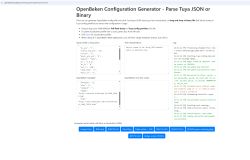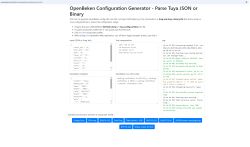
Every OpenBeken/Tasmota/etc device requires a brief configuration after the initial flashing of the firmware. This configuration requires setting a proper roles for GPIOs, which are different for each device. Here I will show you an automatic way to configure GPIOs in OpenBeken. In OpenBeken, you can import GPIO directly from Tuya settings. This method is quick and efficient and works for most of the devices, only the TuyaMCU ones might require fully manual work.
Topic assumption
This topic assumes you have already flashed OpenBeken to your BK7231/BK7231T/BK7231N/XR809/W600/W800/BL602/other WiFi devices. You can find flashing guides on our youtube channel:
https://www.youtube.com/watch?v=L6d42IMGhHw&list=PLzbXEc2ebpH0CZDbczAXT94BuSGrd_GoM
and on our devices list:
https://openbekeniot.github.io/webapp/devicesList.html
Where to get templates?
There are multiple places where you can get device templates.
First, you can search our detailed teardowns list, here:
https://openbekeniot.github.io/webapp/devicesList.html
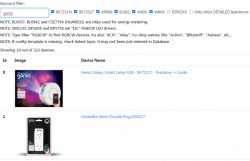
Here you can use various filters to browse devices list effectively, you can also click device name to get more or less detailed guide and discussion topic open:

You can also use cloudcutter profiles from here:
https://github.com/tuya-cloudcutter/tuya-cloudcutter.github.io/tree/master/devices
We are also working on frontend for cuttable devices here (coming soon):
https://openbekeniot.github.io/webapp/cutterList.html
It is also important to mention how are tuya-cloudcutter profiles created. This is for advanced users, but you can create them from 2MB device binary dump taken by our flash tool:
https://github.com/openshwprojects/BK7231GUIFlashTool
Just use the cloudcutter profile-building tool:
https://github.com/tuya-cloudcutter/tuya-cloudcutter/tree/main/profile-building
See readme for more info:
https://github.com/tuya-cloudcutter/tuya-cloudcutter/blob/main/profile-building/README.md
That way you can generate user_param_key.json with Tuya json config.
Special thanks to tuya-cloudcutter contributors for making such useful tool!
What is inside template?
This is a technical only section, skip it if you're not interested.
Here is a sample OpenBeken template:
Code: JSON
OpenBeken template consists some basic information about the device, device image, device page (discussion) topic, some keywords and a GPIO array. Each GPIO has a role and a channel. Channels are used to group together relays with buttons and to set PWM order for RGB, etc, devices.
"26": "Rel;2"
this means P26 has a Relay on channel (group) 2.
Here is a tuya-cloudcutter template:
Code: JSON
There is also some information about the device, a device name, manufacturer, but there are no pins array. Instead, we have a Tuya json called device_configuration, also called user_param_key.
Let's consider this fragment:
Code: JSON
The keys with "pin" suffix are pin indexes. For example, you can see that Relay 4 (group 4, in obk called "channel") is on P26 and a button (pairing/toggle all) is on P24.
ADVERTISEMENT
Template import page
Now we assume that you have copied your device JSON profile, either from OpenBeken list (use Copy button) or from Cloudcutter.
Those profiles are in different format, but can be very easily imported to OpenBeken.
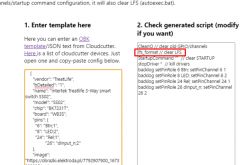
On OBK device, open Web Application and then Import tab:
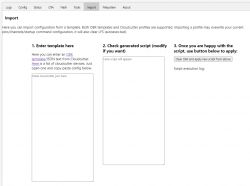
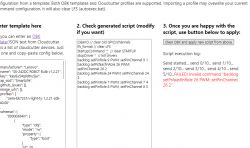
Here you can paste the JSON config. Multiple JSON formats are supported. Please paste to first field (step 1). JSON will be converted to OBK commands in the second column (step 2).
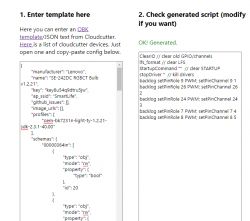
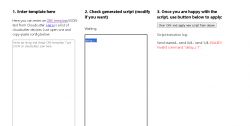
You can modify resulting script if you want. For example, you can change commands. Once you are happy, press the big apply script button. Here is a correct import:
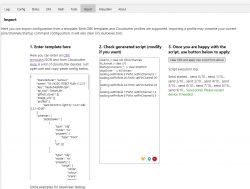
The import field features error detection. It will show an error if pasted JSON is invalid:
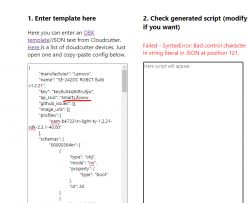
OpenBeken JSON template format also works:
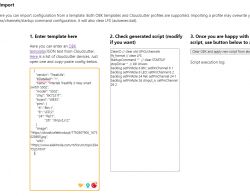
Both text fields have error checking implemented.
If you edit command manually and do a typo, you will get a failure during execution:
Even easier template import method
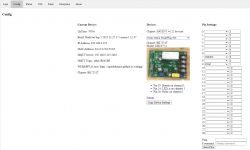
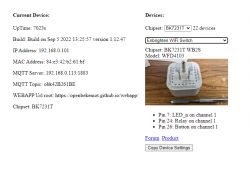
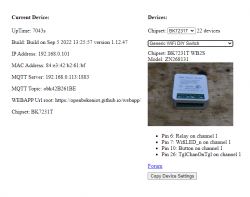
Don't forget that you can just select device from drop down list on OBK Web Application. There you can also automatically import template, even without doing copy+paste:
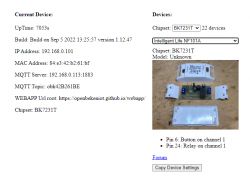
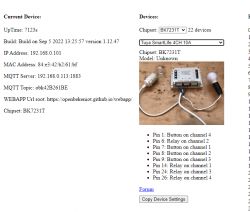
Template converter public frontend
We have also released a little frontend for the template importer. It's not recommended to use it, but it's publicly available here:
https://openbekeniot.github.io/webapp/templateImporter.html
What if there is no template?
It is also possible that you get a device that has no template yet, neither in OpenBeken list and not in Tuya-cloudcutter. In this case, you can take multiple approaches:
- search for similiar devices on our lists and try their configs
- open device and check with multimeter where traces are going (WiFi module pinouts are here)
- just use a brute force approach - for example, set first 5 pins to Relay on channel 1, then save config, then try toggling them - do anything happen? If one of your relay toggles, then you know your relay is among those 5 pins. So try to narrow down selection. If not, your relay is on other pin. This also works for PWMs.
- for LEDs, you can just use approach with relays (relay will just set PWM to 0 or 100%), or you can also enable "show raw LED controls" in OBK flags
- for LEDs, remember that BK7231 supports PWM only of 6 pins, so for RGBCW (5 PWMs) there is not much choice.
| PWM | IO | PWM0 | P6 | PWM1 | P7 | PWM2 | P8 | PWM3 | P9 | PWM4 | P26 | PWM5 | P24 |
What about TuyaMCU devices?
TuyaMCU devices are using WiFi module for communication with outside world and MCU for processing. The MCU communicates with WiFi module via TuyaMCU protocol. We have a TuyaMCU analyzer tool for this purpose, please refer to topic below:
https://www.elektroda.com/rtvforum/topic3970199.html
Summary
There are multiple ways to import device into OpenBeken.
You can get a template manually, either from tuya-cloudcutter/device binary, or from OpenBeken templates. OpenBeken templates are better, because they are user-created and usually more complete, but a template from tuya json can be a good quickstart for basic devices. As you can see, there are many ways to get OBK running, but remember, no matter which approach you choose, you can always ask for help on our forum. Have fun!
Cool? Ranking DIY Helpful post? Buy me a coffee.


