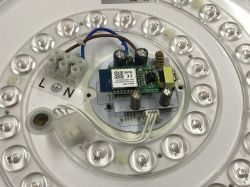
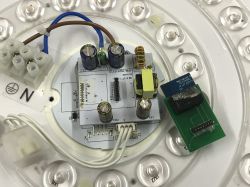
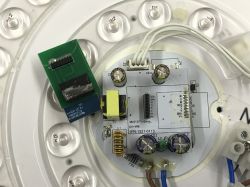
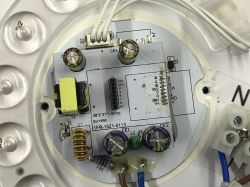
 I invite you to a short presentation of the interior and firmware change of the Woox WiFi-controlled ceiling lamp offering us control over the brightness level and white temperature of the light. This means that with the use of this lamp we can, for example, illuminate the room in the morning with a cold shade of white, and in the evening change this shade to a warm one. Before the firmware change, this product works with the Tuya app, but we will try to upload OpenBeken to be able to connect it with Home Assistant.
Purchase the lamp and contents of the kit The lamp can be purchased for about £170. Normally it works with the Tuya app, but to change its firmware. Below are screenshots from the listing:

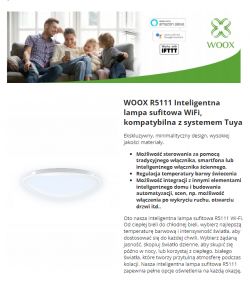
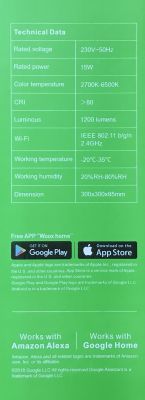
Specification:
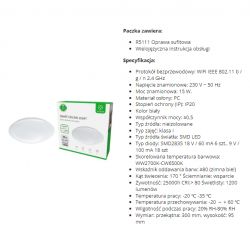
The vendor also claims compatibility with Woox Home, but I haven't tested that:

Package markings:
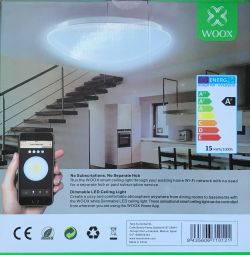
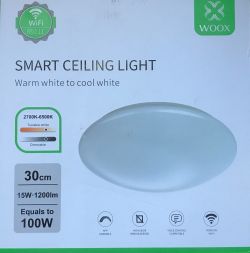
Included in the kit, there are screws and pins for mounting:

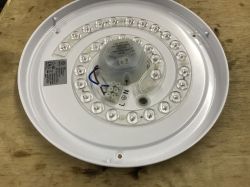
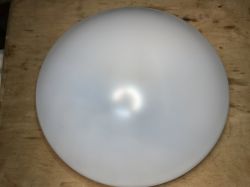
. Interior of the lamp The cover simply unscrews:

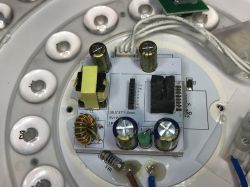
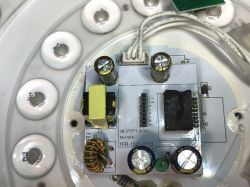
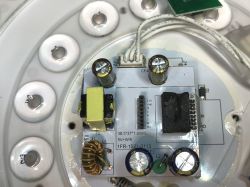
LEDs are arranged in spirals, inside is packed their controller and power supply in one:
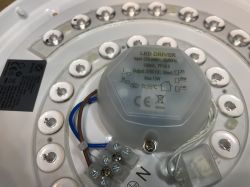
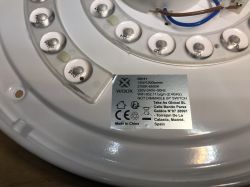
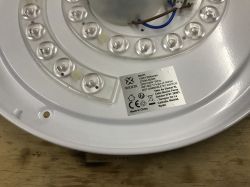
Everything is nicely described here, 230V AC input and V+ and WW (Warm White) and CW (Cool White) output, the manufacturer also declares PF greater than 0.5.
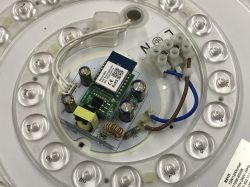
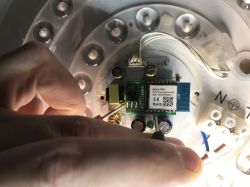
Let's turn the screw to see the WiFi module:
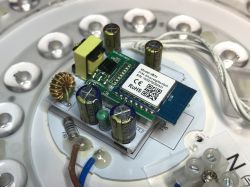
The whole thing is based on WB3S, or BK7231T:
https://developer.tuya.com/en/docs/iot/wb3s-module-datasheet?id=K9dx20n6hz5n4
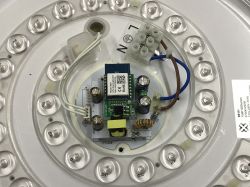
You can also see the IR receiver and the power supply circuit. This is probably a flyback converter. Additional photos:
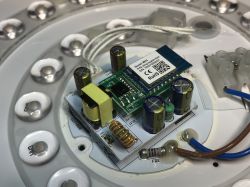
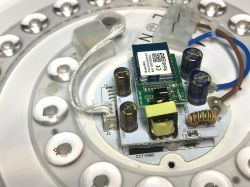
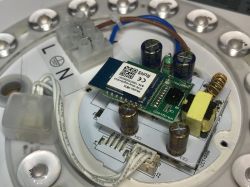
The WiFi module is on a removable board. The pins are signed, and you can see the color coding, meaning the same PCB is probably also used for the RGBCW version.
Changing the firmware
According to flasher instructions:
https://github.com/openshwprojects/BK7231GUIFlashTool
And according to our Youtube tutorials:
https://www.youtube.com/@electrodacom
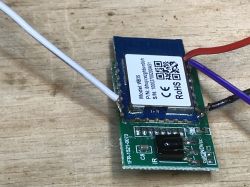
We solder four wires, RX, TX, 3.3V and ground:
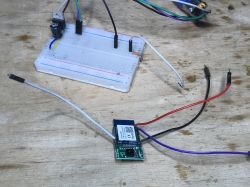
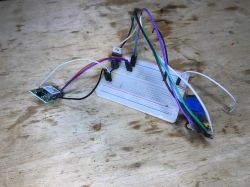
We connect stable 3.3V and USB to UART converter, run the flasher:
BK7231GUIFlashTool correctly detects on which GPIO the color control is:
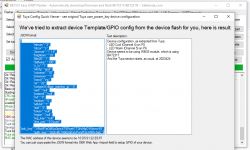
The IR receiver is on TXD2:
JSON Tuya:
Code: JSON
Code: JSON
. Summary Quite a nice lamp, You can't hear it working like the Aigostar discussed some time ago, there are no problems with use, and after changing the firmware you can even connect it to Home Assistant and group it with OBK and Tasmota devices in so-called "Tasmota Device Groups". Tasmota Device Groups, details on the Electrode channel . The price could have been a bit lower, but I think the most important thing you need this product has anyway. Changing the temperature of the light (and controlling its brightness) can come in handy, and after using the aforementioned Tasmota Device Groups, you can even "pair" this product with a "smart" light switch, so that this one controls both its brightness level and its color. Then you don't even need to reach for the phone, and all this is possible in OpenBeken even without HA and without access to the external Internet.
To sum up - the possibilities are great, in my opinion it was worth changing the firmware.
Cool? Ranking DIY Helpful post? Buy me a coffee.


