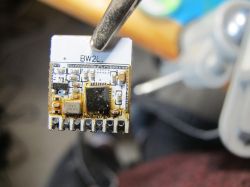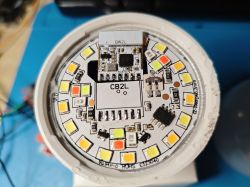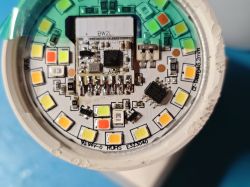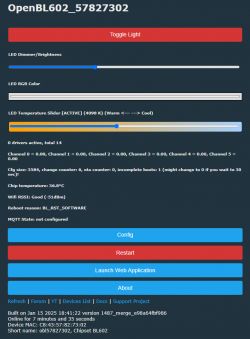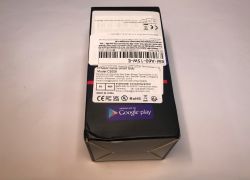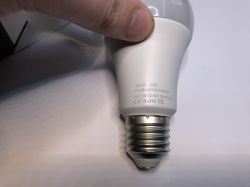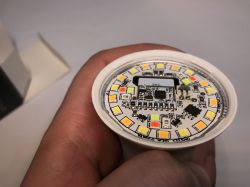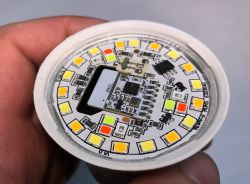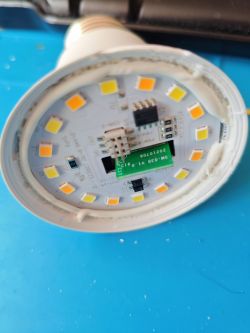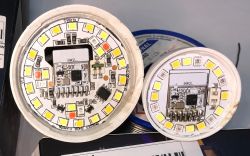
eWeLink RGBCW LED bulbs series is often using BW2L WiFi module based on BL602 chip. Those bulbs are easy to disassemble, although flash pins are only accessible on the back side of the module, it has to be desoldered before flashing. Here I will show you how you can do it step by step, so the bulb can be run free from the cloud and paired with Home Assistant.
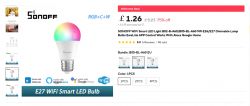
So, let's consider bulbs used for this demonstration.
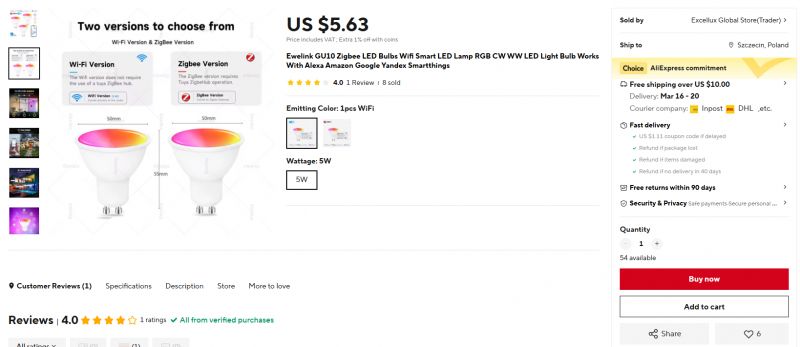
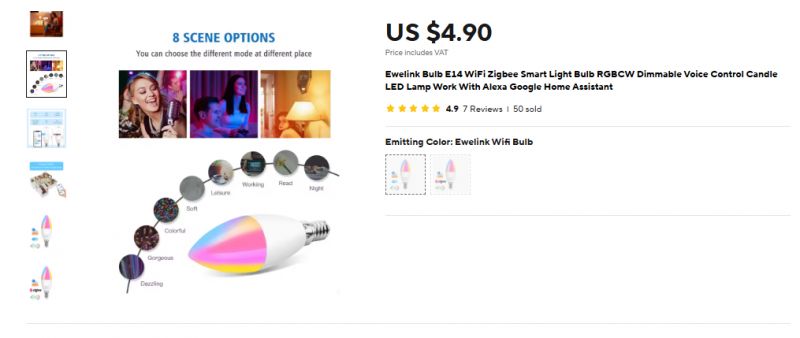
They can be bought for like 4-5$ each:
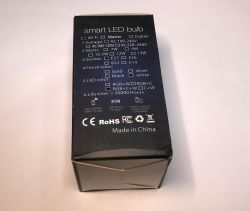
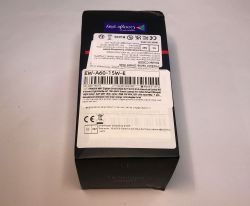
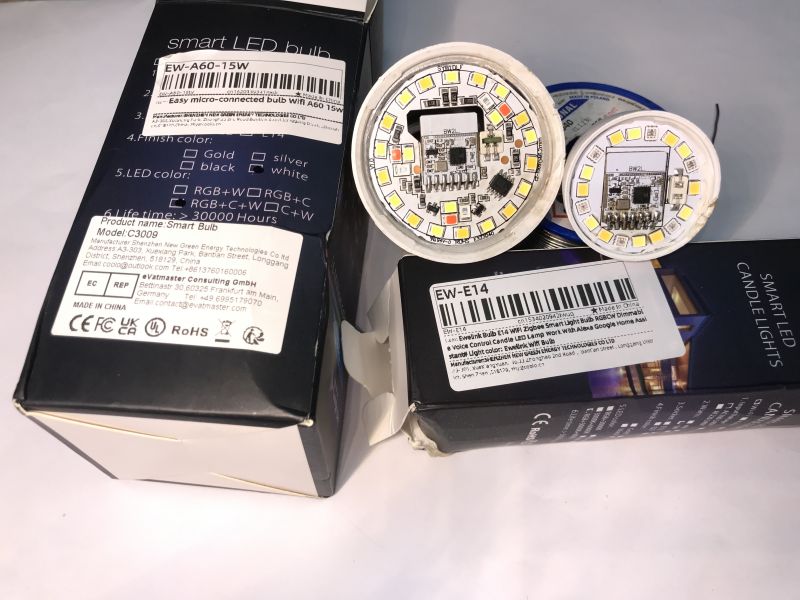
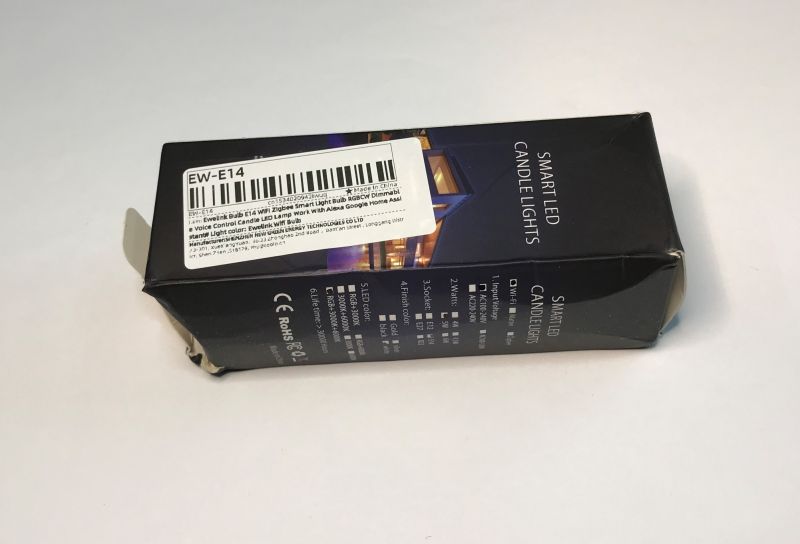
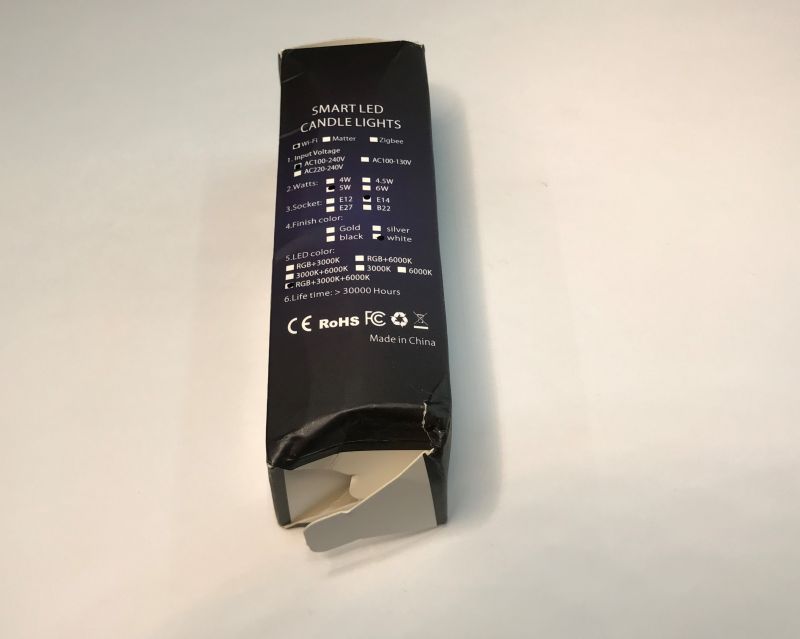
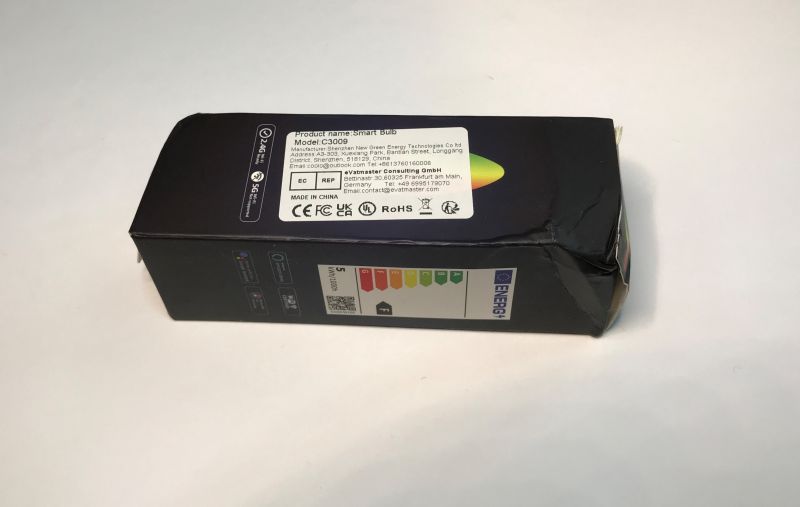
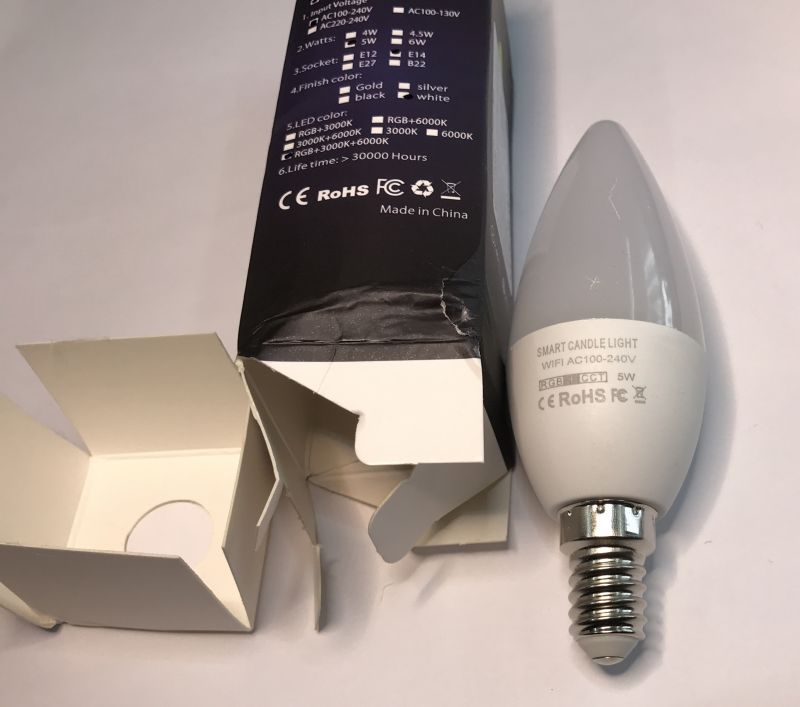
The bulb models are EW-A60-15W and EW-E14, the first one is using E27 format.
They are also marked as C3009, but this is meaningless, because also Tuya bulbs are using the same marking. Even the one with LN882H:
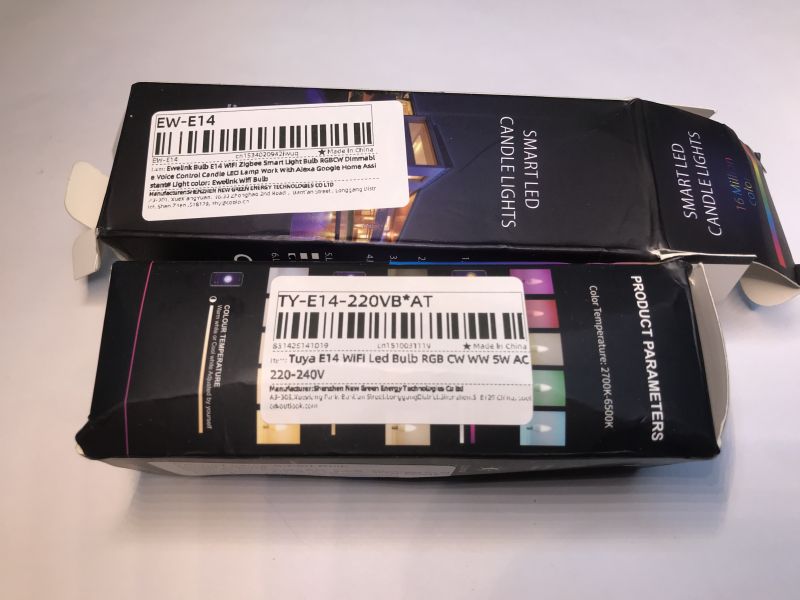
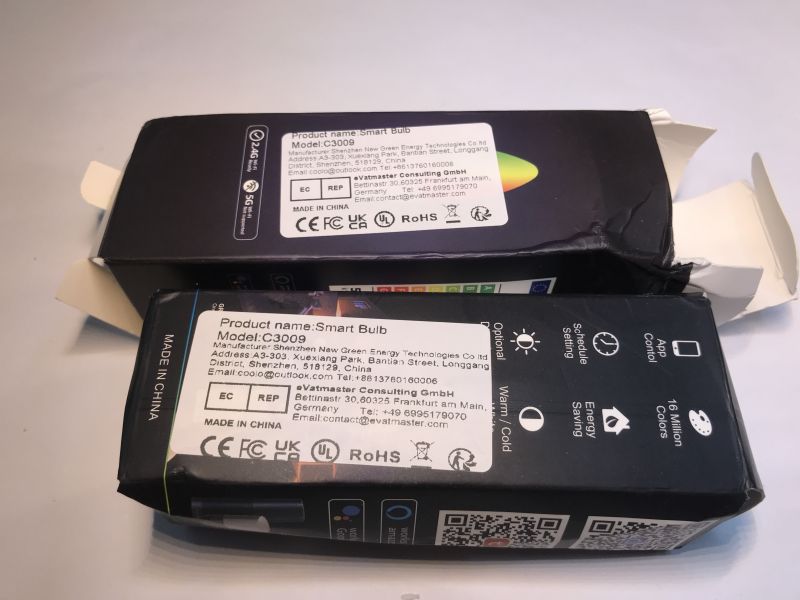
So, to sum up:
- model name "EW-" prefix (as in eWeLink) is important
- C3009 is also used by Tuya and can be ignored
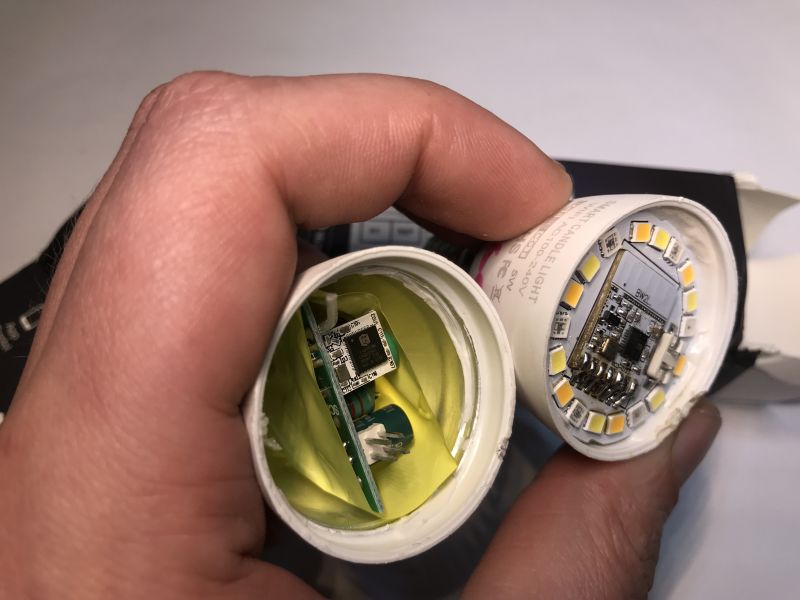
- this guide is specifically for BW2L eWeLink lamps
It's time to unpack one and flash it:
Initial teardown
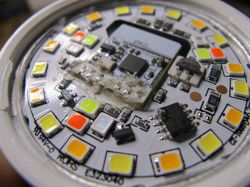
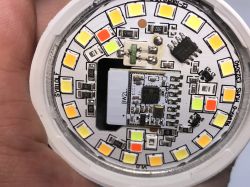
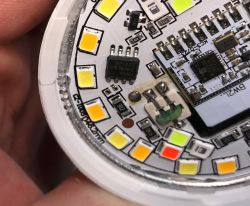
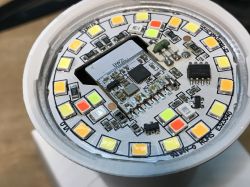
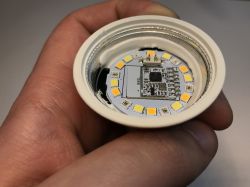
You only need to remove the dome. The WiFi module is on the LEDs board. You can pry the dome with flat screwdriver.
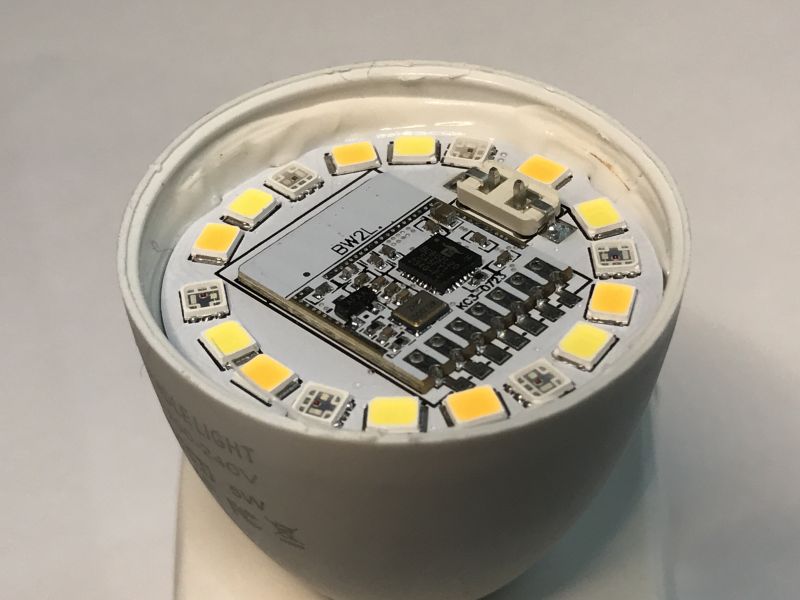
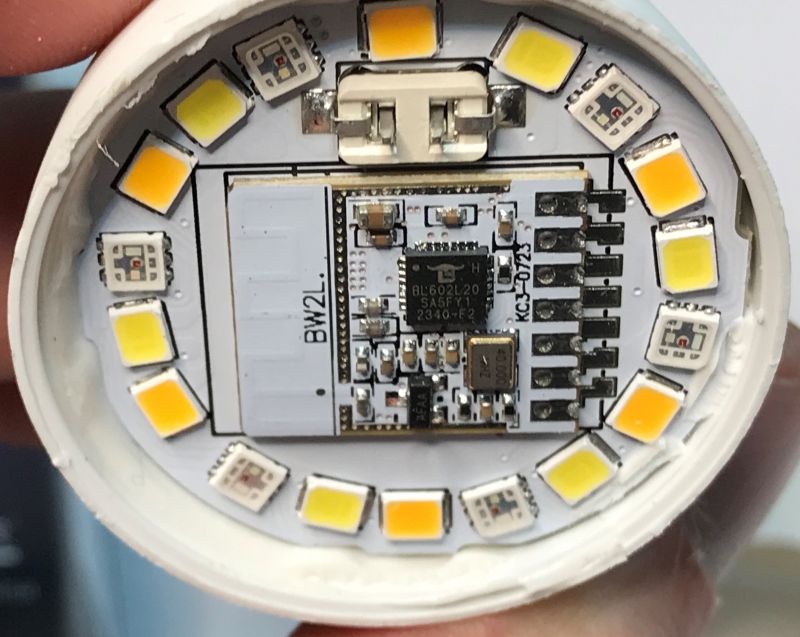
Desoldering module
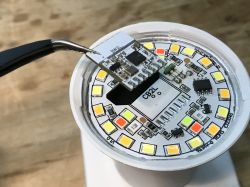
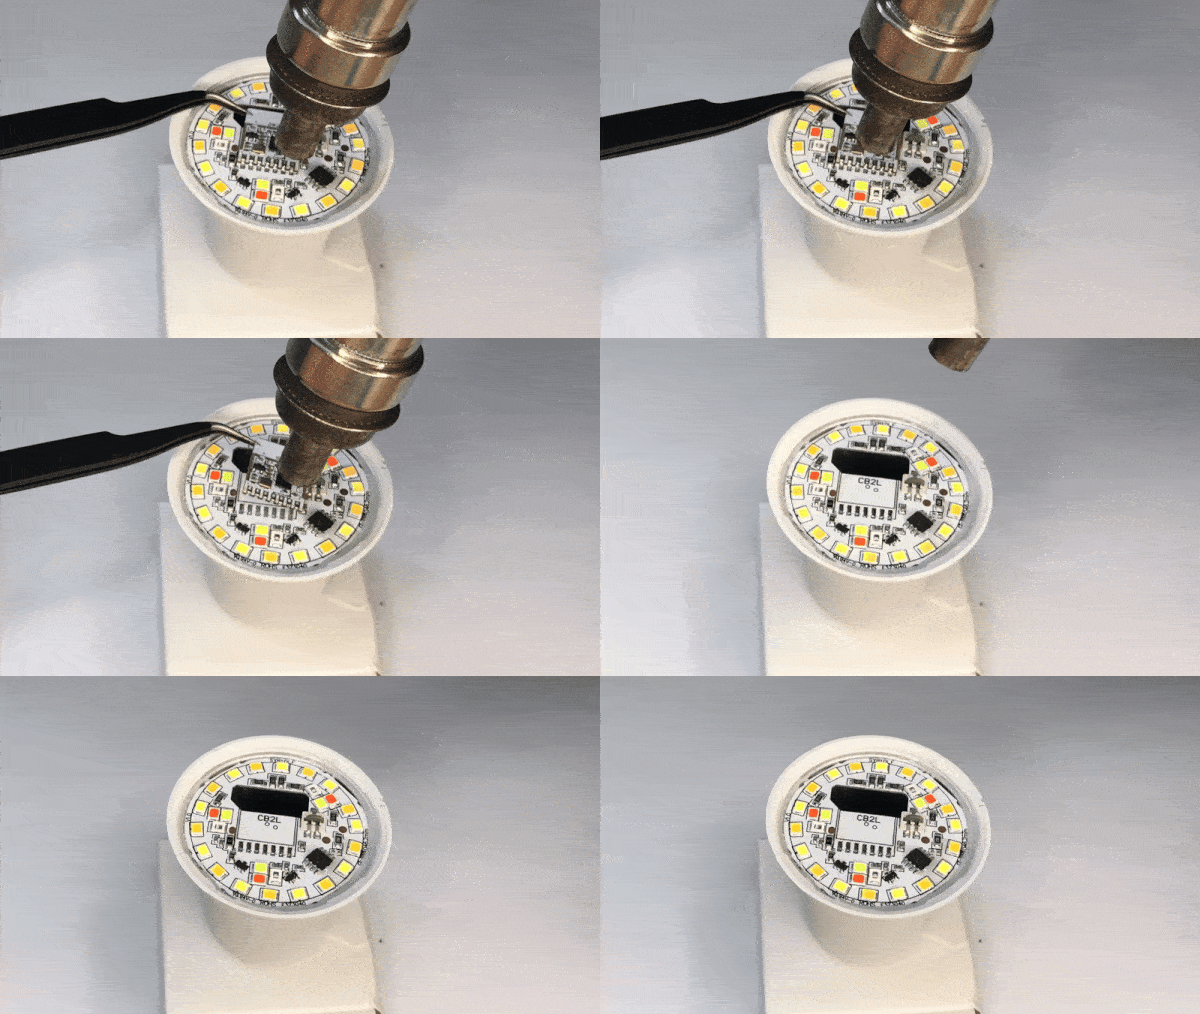
Module flashing pins are on the back, so you need to desolder it. There are two methods.
- hot air method - recommended. Just add flux and heat up pads and lift the module once solder melts:
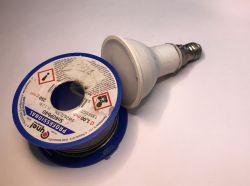
- "tricky" method - if you add flux to the pads, and then add some leaded (Pb) solder, you can heat them up together until module is loose and can be easily removed
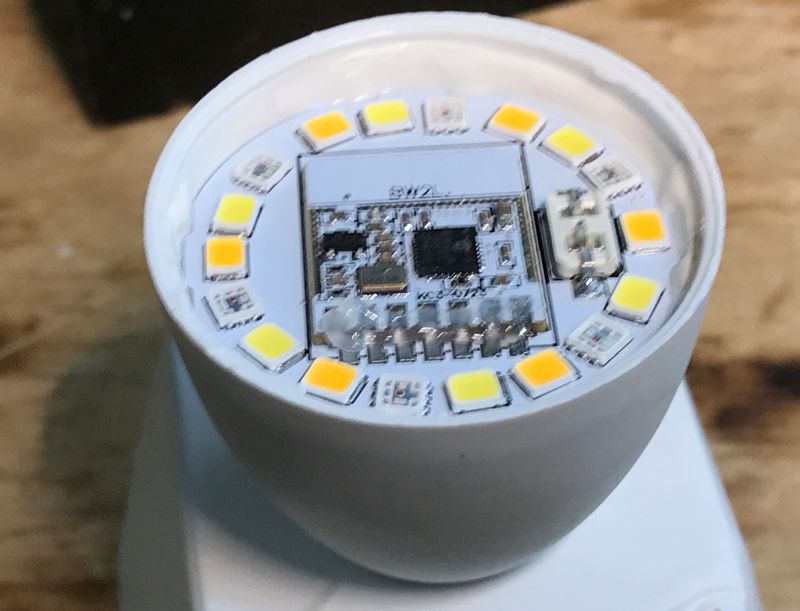
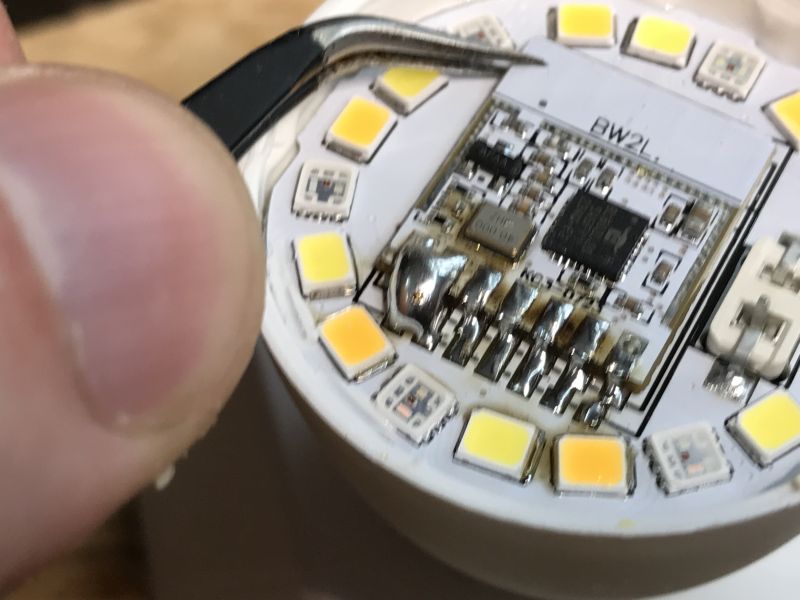
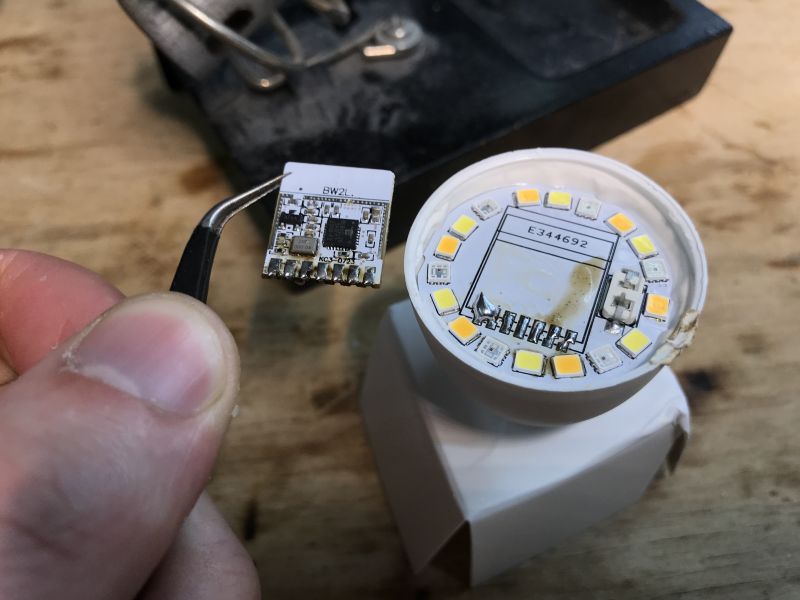
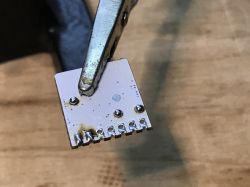
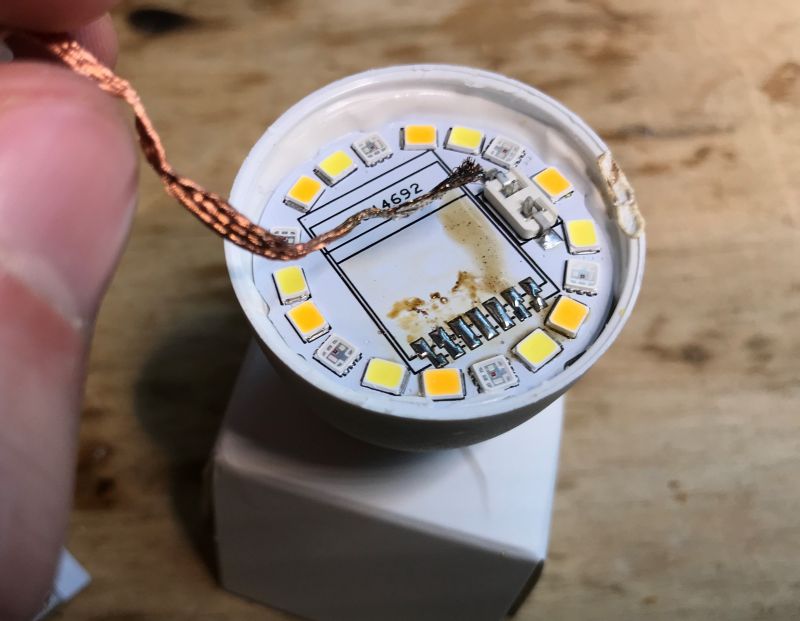
For both methods, remember to clear later the pads with some solder wick:
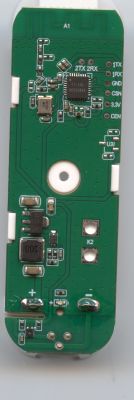
BW2L pinout
BW2L pinout is shown on this image made by @divadiow :
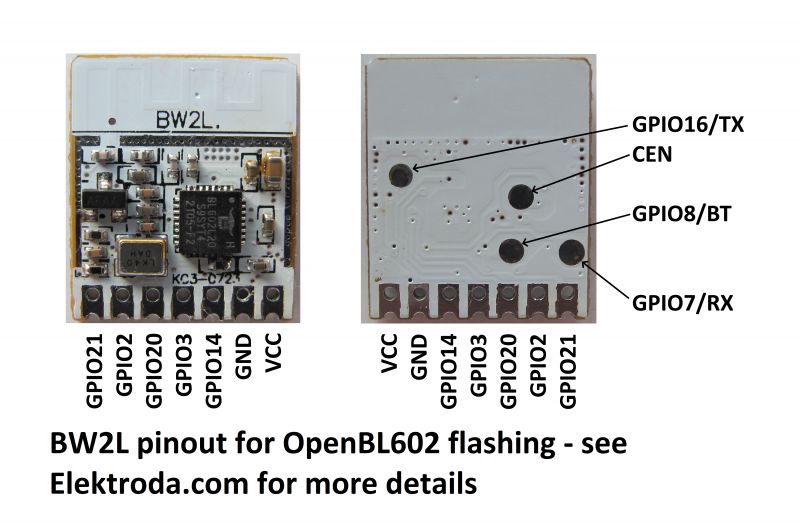
As you can see, required flashing pads are on the back, that's why we're desoldering it.
Flashing the module
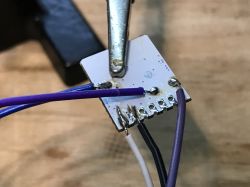
First you need to solder wires. Tin the pads, also tin the wires, then solder them together. For more connection details, refer to our latest BL602 flashing guide:
[ENGLISH] How to read and backup flash of BL602/BL702/etc device with BLDevCube? Burning tutorial, pinout
[POLISH] How to read and backup flash of BL602/BL702/etc device with BLDevCube? Burning tutorial, pinout
Our firmware can be downloaded there:
https://github.com/openshwprojects/OpenBK7231T_App
For the backside pad roles, see BW2L pinout or my image below:
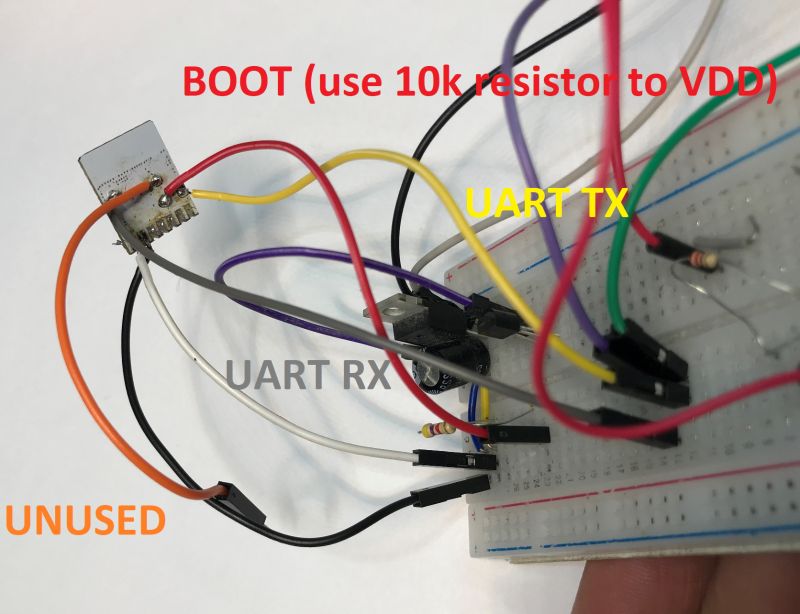
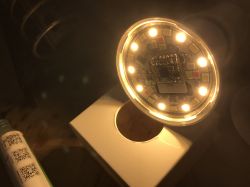
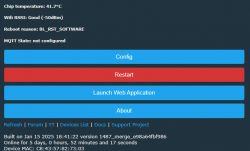
Once you flash the module, make sure that BL602 access point appears before soldering it back in the bulb.
Soldering module back to bulb
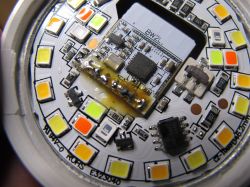
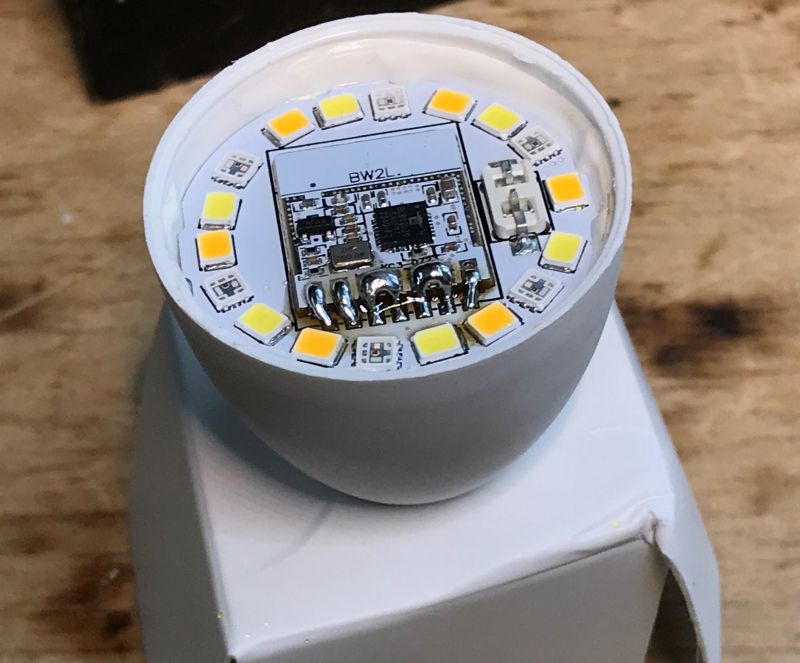
Soldering module back may be a bit harder than usual, because the LED plate is able to dissipate large amounts of heat. That's how LEDs are cooled. Still, with some Pb solder (leaded solder has lower melting point) and flux it's still possible to do it. Try to heat each pad for a longer moment and apply solder. That's how it turned out for me:
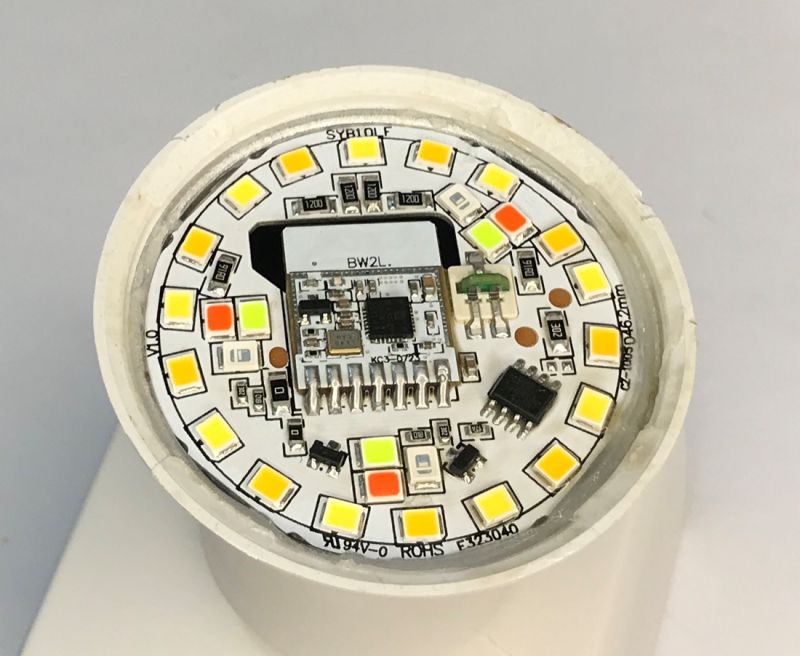
Make sure to check for shorts, especially on VDD and GND!
OBK template
Considering that the bulb is using RGBCW and LEDs are controlled via PWM pins, and there is no more than 5 available GPIOs on the BW2L, there is really not many options in which pins can be arranged. You just need to figure out which color is which, but from what I've tested, both E14 and E27 bulbs are using the same GPIO order:
Code: JSON
Final result
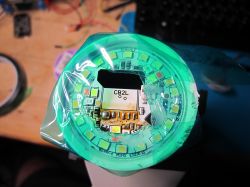
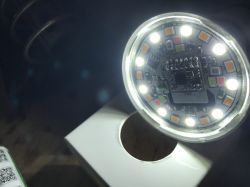
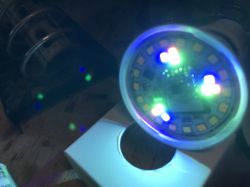
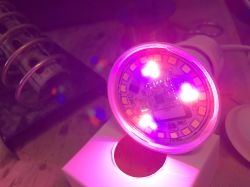
Here's short presentation of working bulb:
Full RGBCW controls are working.
More information
See our tutorials on Youtube channel: https://www.youtube.com/@elektrodacom
Also check our devices list: https://openbekeniot.github.io/webapp/devicesList.html
Summary
That's how you can flash the eWeLink bulbs and run them free from the cloud. Later you can also pair them with Home Assistant.
The procedure seemed hard, but in my opinion these bulbs are relatively easy to flash compared to some other models. The WiFi module is easily accesible and desoldering it is not that hard. I saw many other bulb models which required full bulb disassemble in order to flash, which is much more problematic and troublesome, as the bulb can be damaged permanently.
Has anyone else tried flashing eWeLink bulbs? Let me know and share your experience. I can also help with any bulb firmware change, feel free to post if you need any help.
Cool? Ranking DIY Helpful post? Buy me a coffee.


