 .
.
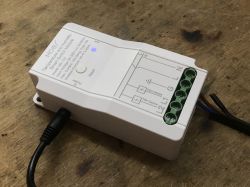
The Moes MS-103 programmable dual relay with temperature sensor allows you to control two receivers depending on the current temperature. It can also be controlled via WiFi. Here I will introduce its pairing with the Tuya app, discuss the possibilities of the app and then present an alternative way, i.e. changing the firmware (cut from the cloud) and connecting to the Home Assistant.
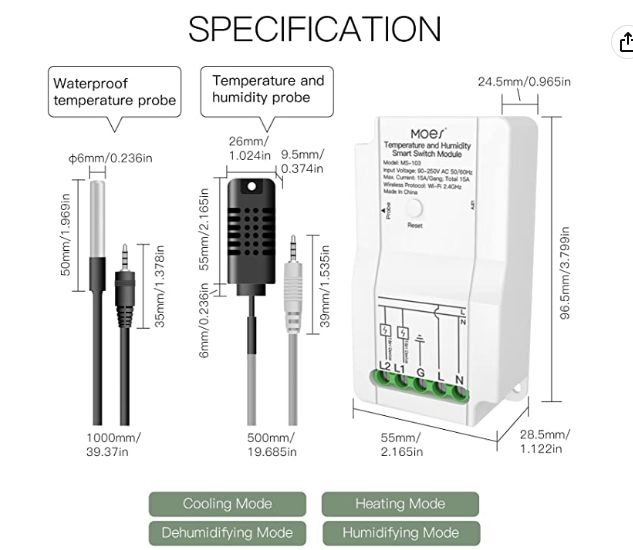
The whole thing is available to buy for around £100 and comes in two versions - DS18B20 (waterproof temperature sensor) and AMS (temperature and humidity sensor):
 .
.
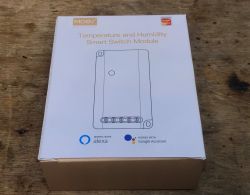
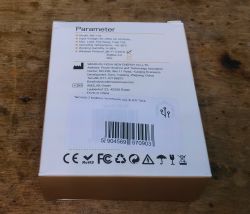
We receive a box like this.
 .
.
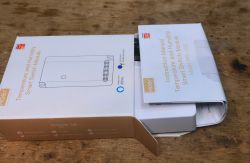
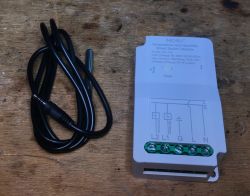
Instructions, device and probe included.
 .
.
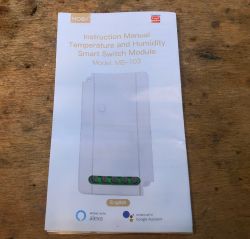
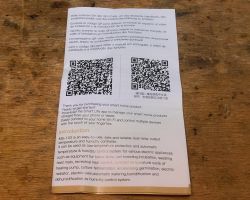
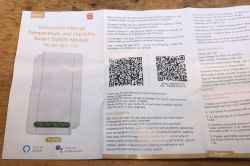
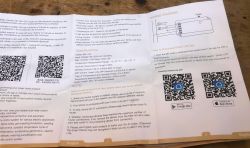
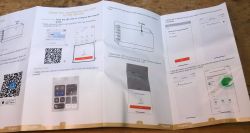
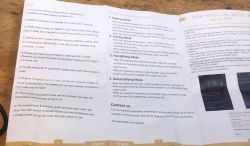
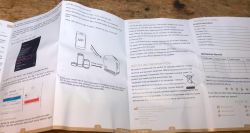
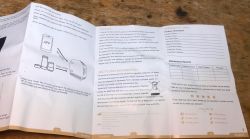
Instructions in clear photos:
 .
.

 .
.
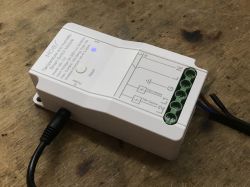
Connected and assembled device:
 .
.
Test with Tuya app .
Pairing is very simple. We press the button until the LED starts flashing. We download the app, make sure we have given it the right permissions. We also turn on Bluetooth - handy for quick pairings that support BK7231-based devices. The app will detect the device, we enter our SSID and password from WiFi if required:
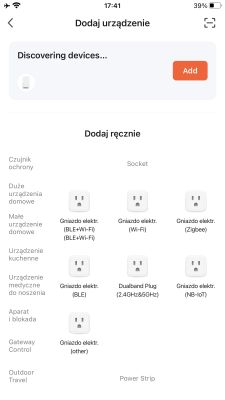
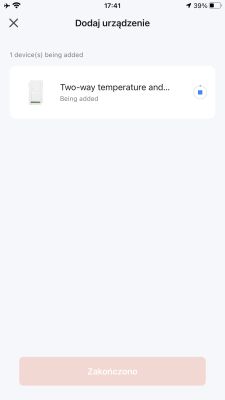
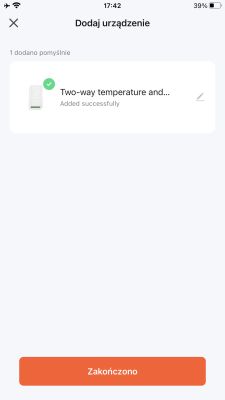 .
.
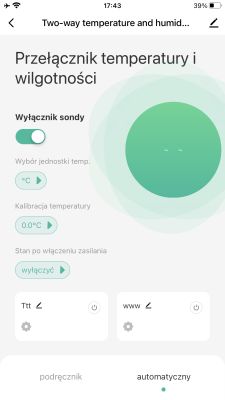
We are given access to the device panel. You can see there the temperature and humidity values - the humidity will be zero if we have versions with DS18B20. In addition, we have there the selection of the temperature unit, its calibration and the probe switch.
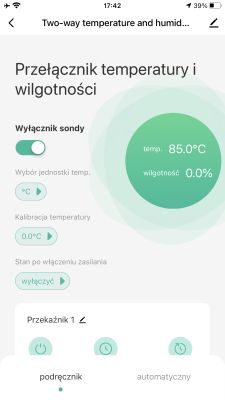
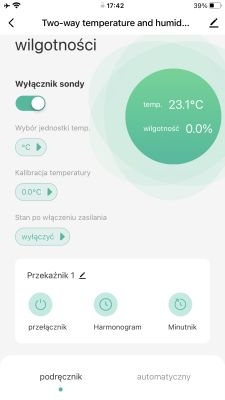
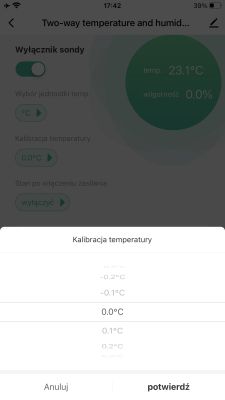 .
.
For the relays, we have basic options such as renaming, state to be set when power is restored, schedule or timer.
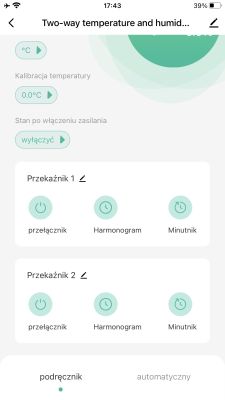
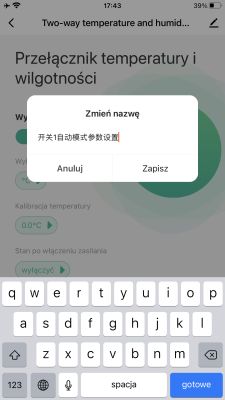
 .
.
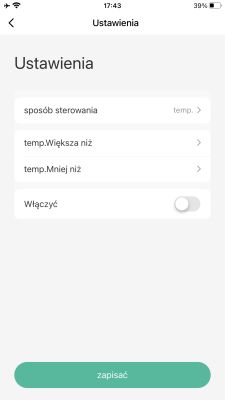
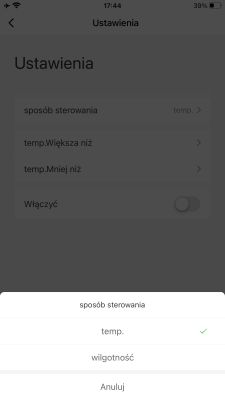
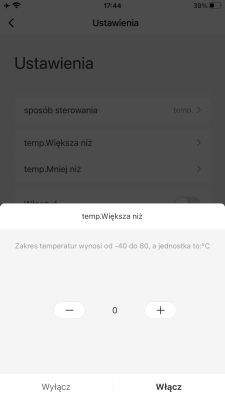
The most important thing is in the settings - there we can set the temperature or humidity range and the corresponding relay status:
 .
.
In this way you can set heating, cooling, or there, in the case of a probe with humidity measurement, also dehumidification/humidification etc.
Inside of the unit .
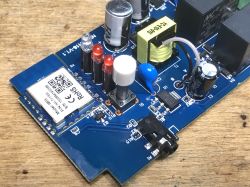
The whole unit is held together only by hooks. The PCB inside is marked NH-TH16-V1.1:
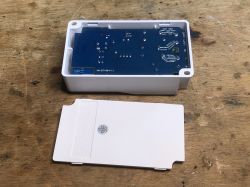
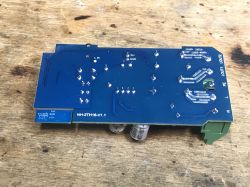
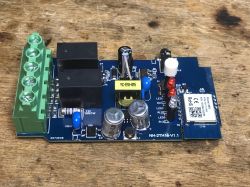 .
.
The device is realised using the WB3S module, the BK7231T. The probe uses a headphone connector.
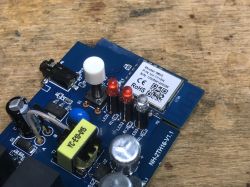
 .
.
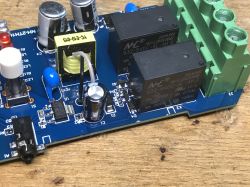
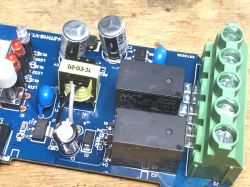
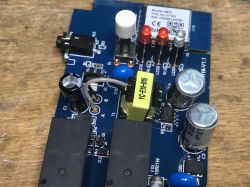
The relays inside are 932-5VDC-SL-AH-G. They are controlled by a voltage of 5V. In the photo you can also see the LDO 3.3V powering the WiFi module.
 .
.
A 10R/1W fuse resistor protects the input and a varistor is also present.
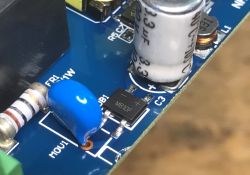
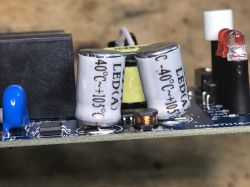
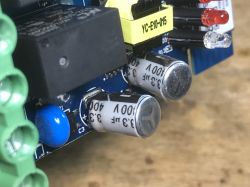 .
.
The power supply is provided by LP3667. I associate it with the POWR316D. It is a flyback boost converter controller.
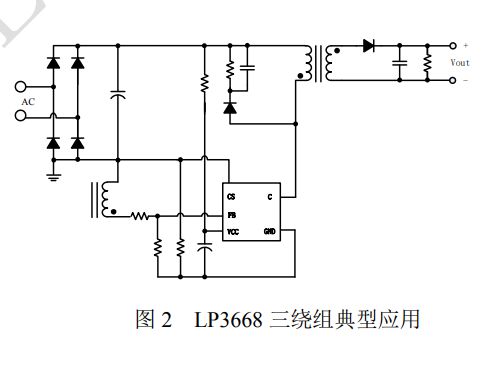 .
.
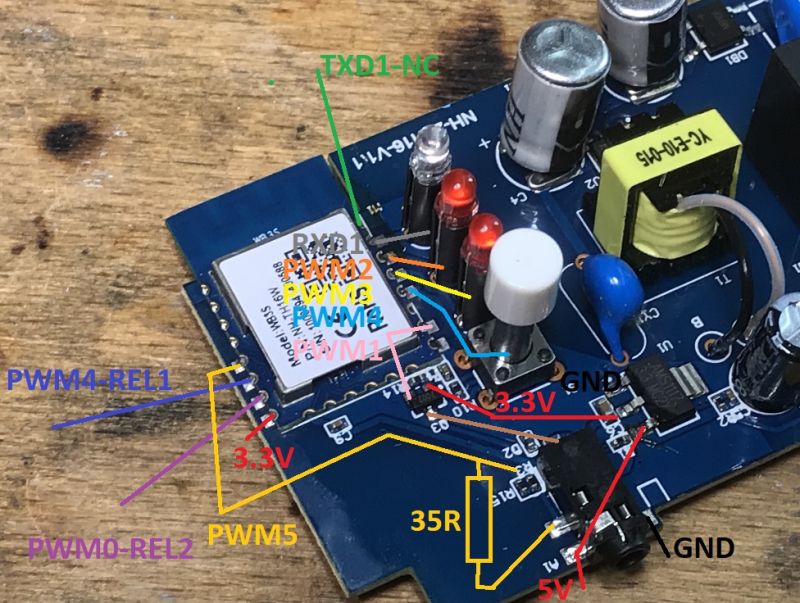
I have taken the time and sketched the connections on the board:
 .
.
Changing the firmware .
The device can be modified with software to disconnect it from the cloud and connect it to Home Assistant.
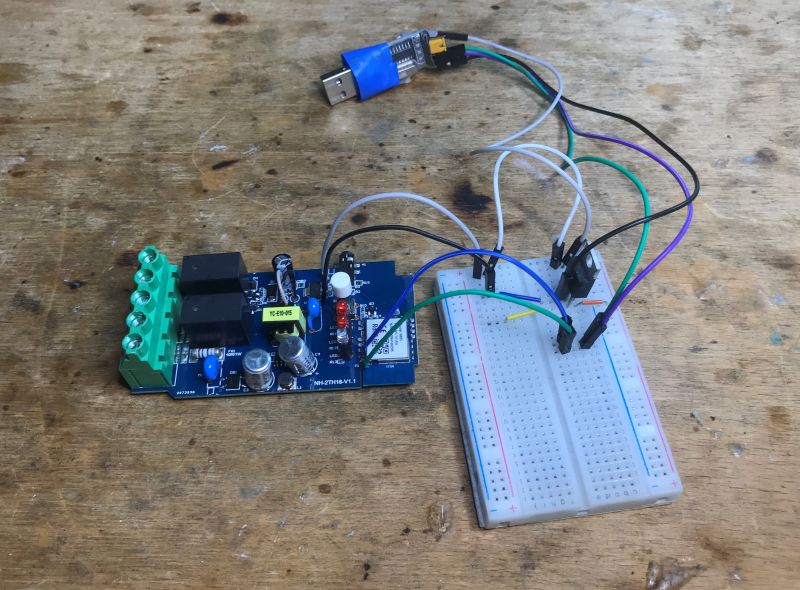
You will need a USB to UART converter. Follow the instructions from Flashers:
https://github.com/openshwprojects/BK7231GUIFlashTool
My connections:
 .
.
After uploading the OBK you still need to configure it. Template:
Code: JSON
From now on, you can connect your device to the Home Assistant:
The device can now also be configured freely, according to the project documentation.
Summary .
The device does its job and is potentially even made better than other products of its type. I haven't seen a varistor inside for a long time. This isolated inverter is also a plus, this may be because the designer did not want the mains potential to be on the probe.
The device shown here is also easy to change the firmware. OpenBeken supports the DS18B20, so if you want, it can be run without the cloud, 100% locally.
Do you use this type of thermostat, and if so, for what?
Cool? Ranking DIY Helpful post? Buy me a coffee.


